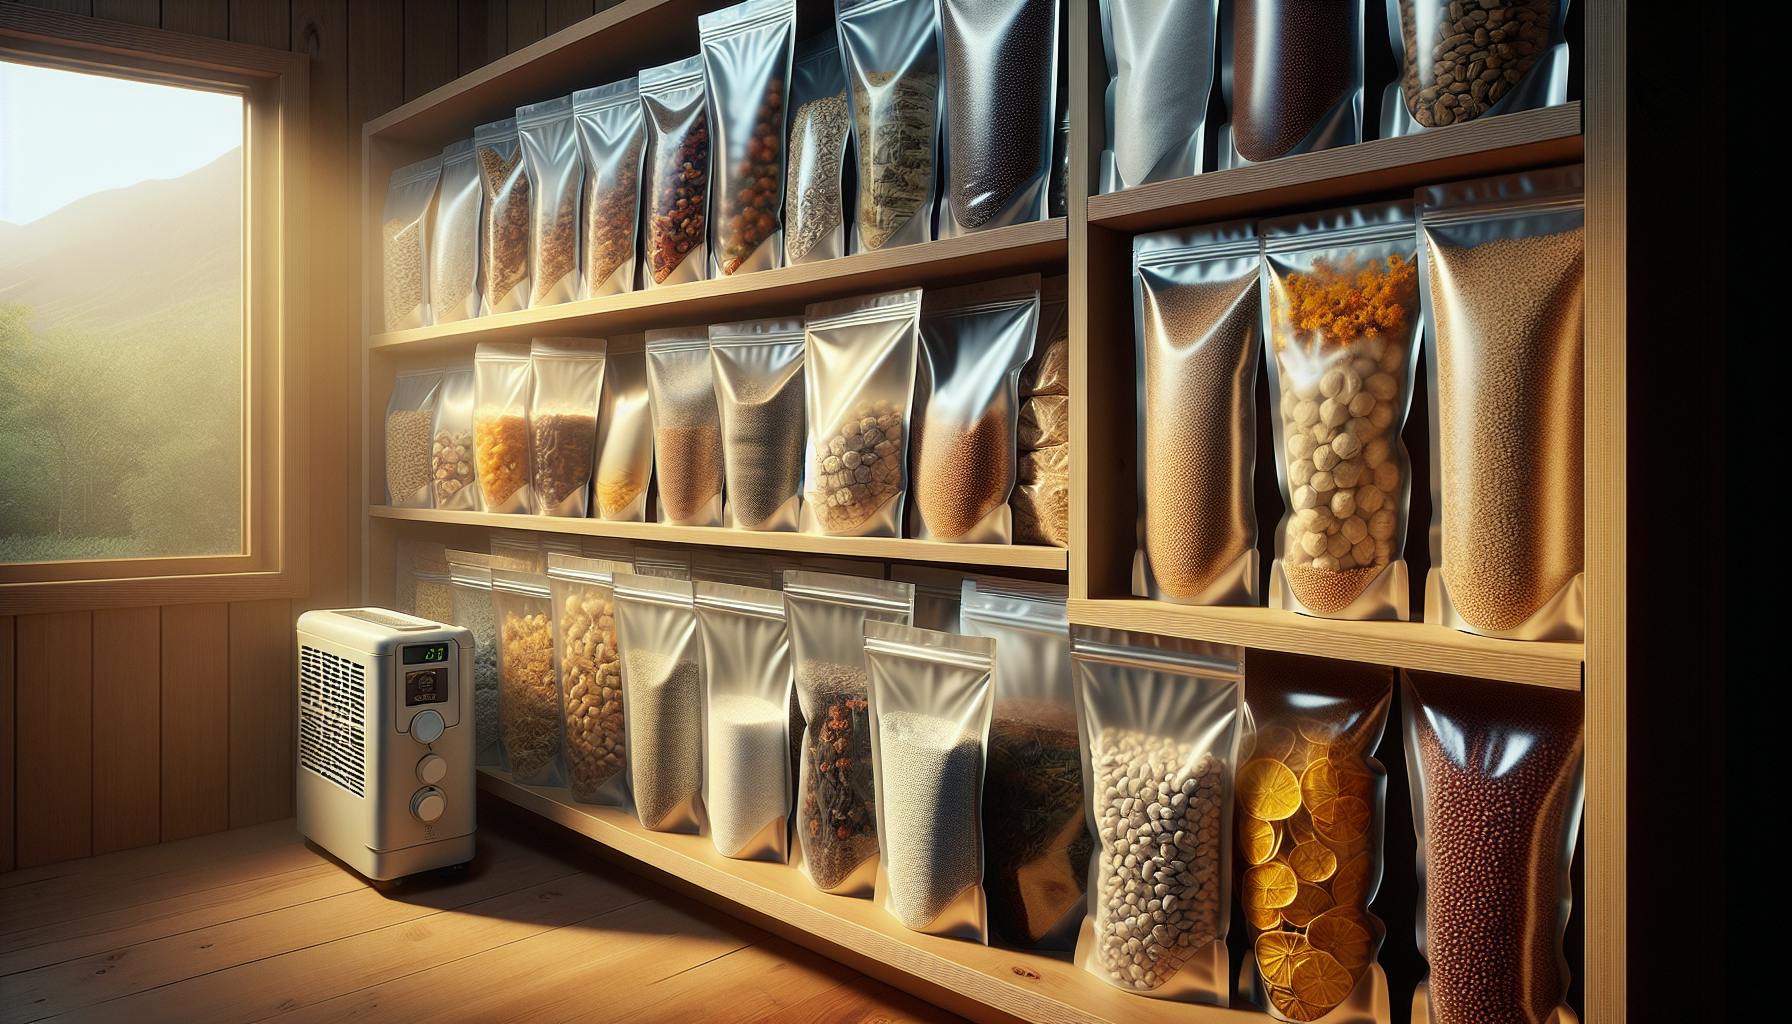
Preppers would agree that having a reliable long-term food supply is essential for emergency preparedness.
By learning the fundamentals of home canning, preppers can build sustainable food reserves to withstand any crisis.
This guide covers everything you need to know as a prepper getting started with canning, from critical safety rules to step-by-step instructions for both water bath and pressure canning methods.
Introduction to Canning for Preppers
Canning allows preppers to build a long-lasting stockpile of nutritious foods to rely on in emergency situations when fresh food may be scarce or supply chains are disrupted. The canning process kills pathogens and seals foods in airtight jars or cans, allowing them to be safely stored at room temperature for up to a year or more.
Some key reasons canning is an essential prepper skill:
- Allows you to preserve harvests from your garden or bulk buys from the grocery store
- Builds food reserves that will sustain your family when stores are empty
- Canned foods are portable and require no refrigeration if the power goes out
- Nutritious canned foods help maintain health in stressful situations
- An independent food supply reduces reliance on unstable supply chains
When done properly, canning is a safe, cost-effective way to ensure food security. Let's explore the fundamentals of canning basics for long-term food preservation.
The Fundamentals of Canning Basics for Long-Term Food Preservation
Canning works by applying high heat to food packed in jars or cans, killing microorganisms that cause spoilage while preventing new contaminants from getting in. This preserves foods for up to a year or more. There are two main canning methods:
Water bath canning is suitable for high-acid foods like fruits. Jars are submerged in boiling water for a set time to heat the contents. Pressure canning allows low-acid foods like vegetables and meats to be safely preserved. The pressurized environment allows temperatures above boiling to be reached, killing more heat-resistant bacteria.
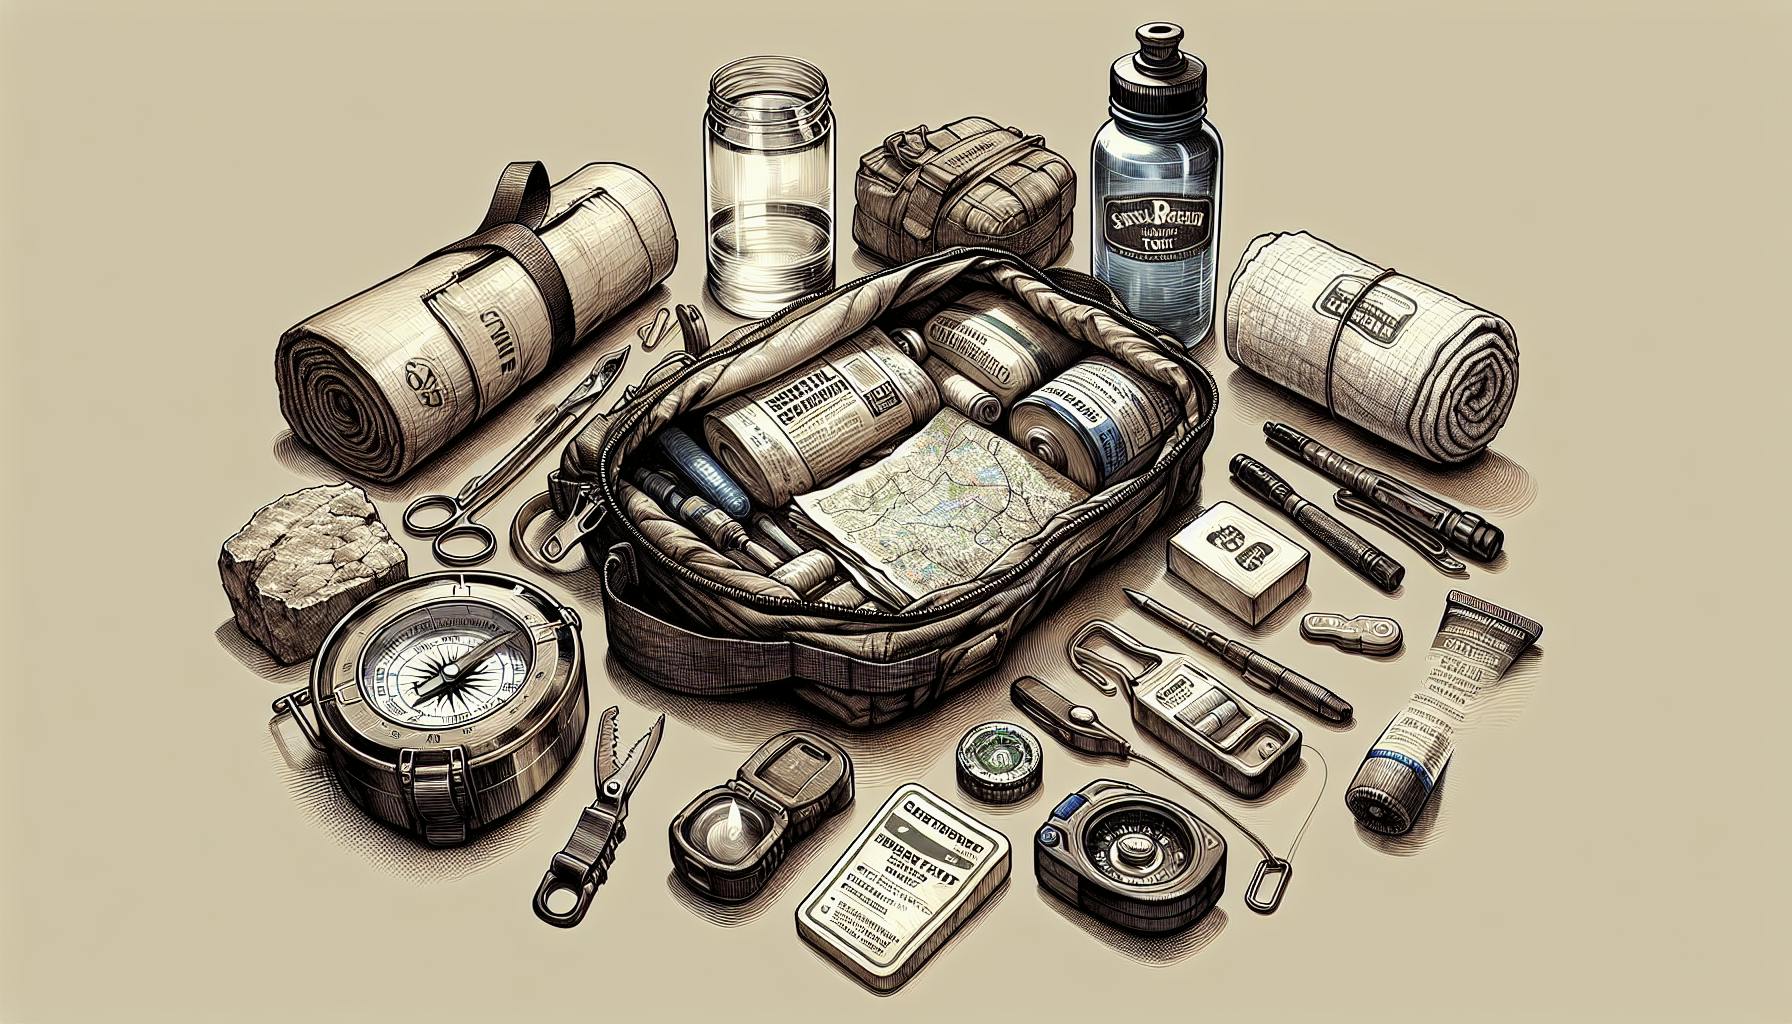
Here is some essential canning equipment preppers will need:
- Canning jars - Usually glass mason jars with two-part lids
- Canning pot with rack - Holds jars, allowing water to circulate
- Jar lifter - Safely moves hot jars
- Bubble remover - Removes trapped air bubbles
- Canning funnel - For cleanly pouring food into jars
- Clean towels - For setting jars on after processing
And some basic safety tips:
- Carefully follow validated canning instructions each time
- Check jars, lids and bands for defects before use
- Allow pH appropriate headspace as directed
- Wipe jar rims clean before sealing
- Process filled jars using the correct time and method
- Don't reuse lids or re-can leftovers; this raises the risk of spoilage and botulism
Let’s look at how home canning contributes to sustainable food reserves next.
Building Sustainable Food Reserves with Home Canning
Home canning allows preppers to build robust, long-lasting stockpiles of nutritious food completely under their control. Some key advantages:
Sustainability - Preserve abundant seasonal foods like summer produce or hunting game Cost savings - Buy ingredients in bulk when prices are lower Nutrition - Lock in nutrients at a food's peak ripeness Customization - Create canned goods your family enjoys
A well-planned canning schedule helps ensure supplies are maintained. Here are some tips:
- Map out seasonal harvest windows - Plan canning sessions around peak seasons for produce and meat. This takes some research but makes preserving more affordable.
- Diversify your preserved foods - Strive for variety of fruits, vegetables, soups, meats to meet nutritional needs.
- Over-estimate needs - Allow for increased consumption under stress or sharing with others.
- Replenish inventory - Monitor stocks and can year-round to use up leftovers and replace what’s consumed.
Let’s look next at how canning fits into emergency preparedness.
Prepping Your Pantry: The Role of Canning in Emergency Preparedness
During emergencies like natural disasters, canned goods are often the only reliable nutrition sources available. Preserved foods require no refrigeration or preparation, making them ideal when power and utilities are disrupted.
Having a sizable stockpile of home-canned foods takes the stress out of emergency food planning.
Portability - Canned goods are durable, compact and easily transported if evacuation becomes necessary. This makes your food reserves mobile.
Peace of mind - Relying on your own supply of canned food brings comfort in situations where stores are empty or unable to restock. Reduced stress during crises is invaluable.
Barterability - Shelf-stable preserved foods may become valuable bartering commodities during prolonged crises.
Morale - Enjoying tasty, familiar home-canned recipes during stressful times helps improve mood and morale.
Let's wrap up with some tips for planning and executing a canning schedule to ensure consistent food reserves.
StockupNow: Planning and Executing a Canning Schedule for Preppers
With some planning, preppers can execute a year-round canning schedule allowing them to:
- Preserve seasonal abundance from gardens and hunting
- Take advantage of bulk sales and pricing deals at grocers
- Maintain a minimum level of key staples items throughout the year
Track usage rates - Monitor how quickly various canned goods get used up. This helps estimate needed quantities.
Allow flexibility - Leave open sessions for preserving gluts or bargains that pop up sporadically.
Maintain buffers - Make sure staple goods don't drop below a minimum quantity before the next harvest.
Diversify - Vary fruits, veggies, soups and meats canned in each session.
Recruit help - Have others assist with prep, running the canner, sterilizing jars. Canning often goes faster and smoother as a team effort.
Planning out a purposeful canning schedule takes the stress out of long-term food preservation and ensures your pantry has the reserves to sustain your family, no matter the circumstances.
What foods Cannot be home canned?
Certain types of foods are not recommended for home canning due to safety concerns.
Foods with High Fat Content
Foods that are comprised mainly of fat, such as oils, mayonnaise, or lard, are not safe to can at home. They have a low moisture content which means it doesn't have enough water in it to help the contents reach 240°F, the temperature needed to kill harmful bacteria.
When canning foods high in fat, the heat cannot penetrate deeply enough to make the canned food shelf-stable. This leaves the possibility of botulism bacteria surviving.
Examples of high-fat foods that should not be home canned include:
- Oils
- Mayonnaise
- Nut butters
- Lard or bacon grease
Low-Acid Foods
Low-acid foods have a pH higher than 4.6. This category includes vegetables, meats, seafood, and soups. These low-acid foods do not contain enough acidity to prevent the growth of dangerous bacteria like Clostridium botulinum, which causes botulism.
To safely can low-acid foods, you must use a pressure canner to achieve the 240°F needed to kill C. botulinum spores. Simply boiling these foods in a water bath canner is not enough.
So for beginner canners without a pressure canner, it's best to avoid canning low-acid foods at home until you have the proper equipment. Stick to high-acid fruits, pickles, jams, jellies, and tomatoes using a boiling water bath canner.
What are any 3 safety rules when canning foods?
When canning for preppers, following basic safety rules is essential to avoid illness or injury. Here are 3 key canning safety tips:
-
Use proper canning jars and lids
-
Only use jars made specifically for canning, without any cracks or chips
-
Ensure jar rings are free of dents or rust
-
Always use new lids to ensure a proper seal
-
Follow validated recipes and processing times
-
Closely follow recipes from trusted sources like USDA or Ball
-
Never change processing times or alter recipes
-
This ensures food safety and prevents spoilage
-
Use the right canning method for each food
-
Low-acid foods like meat and veggies require pressure canning
-
High-acid foods like fruits and pickles can be water bath canned
-
Matching the canning method to the food type is critical
Following these basic safety rules will help preppers safely preserve foods for their food reserves. Refer to in-depth canning instructions for more tips on building food reserves.
What method is not recommended for canning?
"Dry canning," or canning without liquid, is not recommended for preserving foods. When canning vegetables or other food pieces without an adequate amount of liquid, there is a risk of under-processing. With low-acid foods like vegetables, this poses the dangerous risk of botulism poisoning.
Instead, it's essential to use safe canning methods like pressure canning and water bath canning. When pressure canning vegetables, meat, and other low-acid foods, the high heat kills bacteria and creates an airtight seal on jars after processing. With water bath canning for high-acid foods like jams and pickled vegetables, the combination of acidity, heat, and sealing also prevents bacteria growth.
Following proper, time-tested canning techniques is vital for food safety. While dry canning may seem convenient, it does not allow enough heat penetration throughout the jar to reliably kill dangerous spores. Sticking to evidence-based methods like pressure canning and water bath canning better guarantees your preserved foods will be safe to eat when needed.
What is the easiest food to start canning?
When first getting into canning, it's best to start with high-acid foods. These include fruits, tomatoes, pickles, chutneys, and other items that have vinegar added.
Here's why these make great beginner canning projects:
- Safety - High-acid foods can be safely processed using a water bath canner, which is simpler than pressure canning required for low-acid foods. This gives you room to learn without high stakes.
- Simplicity - Fruits and pickles generally involve fewer ingredients and steps compared to more complex recipes. This allows you to get familiar with canning fundamentals.
- Availability - During peak harvest times, fresh fruits and veggies for canning are abundant at farmers markets and grocery stores. This ensures beginners have plenty of affordable ingredients for practice.
- Versatility - From apple sauce to peach jam to bread-and-butter pickles, high acid foods can be preserved in various tasty ways. This allows you to start simple with fruits canned in syrup, then expand into more unique recipes over time.
When first getting acquainted with canning, simplicity and safety come first. Stick with high-acid foods, master water bath canning, and work your way up from there. Soon you'll have shelves stocked with homemade canned goods to enjoy for months to come.
sbb-itb-b932644
Canning Equipment Essentials for Prepper Food Storage
Canning equipment allows preppers to safely preserve foods for long-term storage. Having the proper tools is essential for successful, safe home canning. Here is an outline of the basic equipment preppers will need.
The Prepper's Guide to Canning Equipment
The most important canning tool is a pressure canner. Pressure canners allow food to be processed at temperatures above boiling, ensuring any bacteria or pathogens are destroyed. They feature locking lids, pressure regulators, and gauges. Newer models have added safety features as well.
When selecting jars, prepper will want to invest in jars specifically designed for home canning. Look for ones with wide mouths to make filling easier. Standard mason jars in pint and quart sizes are ideal. Make sure to have extras on hand.
Jar lifters help grip jars securely when removing them from hot water. They protect against burns. Funnels also help neatly guide food into the jars.
Other essentials are lids and bands, bubble removers, headspace measuring tools, and cleaning brushes. Having backups of things like lids ensures canning isn't interrupted if supplies run low.
Advanced Canning Tools to Enhance Your Prepper Pantry
While not essential, tools like immersion blenders can make quick work of turning fruits and tomatoes into smooth purees for jams and sauces. Cherry pitters help remove pits rapidly when canning cherries. Sauce makers press cooked tomatoes into juice and pulp.
Spice strainers remove pepper flakes, bay leaves, and other seasonings from canned goods before jarring. This helps ensure uniform flavor and appeal.
Canning racks lift jars off the bottom of pots and pans so hot water can circulate completely around them. This allows for safer, more consistent heating.
Sourcing Quality Canning Supplies: A Prepper's Resource List
Many standard home goods stores like Target and Walmart carry canning necessities like jars, bands, and new lids. Grocery stores may also stock these items seasonally. However, for the best selection and prices, specialty retailers aimed at home canners are recommended.
Top online stores like Fresh Preserving and Canning Pantry offer everything the prepper needs. Their websites also have canning tips and recipes perfect for building food reserves. For those who prefer to shop local, independent kitchen supply shops are another good option.
Maintaining Your Canning Equipment for Longevity
To keep canning equipment in good working order:
- Follow manufacturer cleaning instructions
- Replace rubber gaskets and seals regularly
- Oil gears and hinges on pressure canners yearly
- Check dial gauges for accuracy each season
- Hand-wash accessories gently after use
Proper care ensures prepper have reliable equipment that will last for many seasons, supporting their self-reliant lifestyles.
Integrating high-quality canning tools into food preservation efforts is a smart way for preppers to enhance their self-reliance while building reserves. The right equipment makes the process safer and easier.
Canning Safety Tips for Prepper Food Preservation
Preppers who are building their food reserves through canning need to follow important safety guidelines. Improperly canned foods can harbor dangerous bacteria and toxins leading to foodborne illness. Here are some key canning safety tips for preppers.
The Importance of Sterilizing Equipment and Jars
It's critical to wash and sterilize all canning equipment and jars before use. Here are the proper sterilization steps:
- Wash jars, lids, and bands in hot, soapy water. Rinse thoroughly.
- Submerge jars in a boiling water bath for 10 minutes to sterilize.
- Use a magnetic lid wand to remove lids and bands from hot water. Set aside.
- Keep jars in hot water until ready to fill.
Sterilizing kills bacteria ensuring no contaminants end up sealed into jars during canning.
Selecting Safe Canning for Preppers Recipes
Only use tested canning recipes from reputable sources like the USDA and Ball. Don't take shortcuts or make substitutions with canning recipes. Stick to high-acid fruits for water bath canning. Low-acid vegetables need a pressure canner to eliminate botulism risks.
Monitoring Processing Times for Optimal Food Safety
Processing times for water bath or pressure canning must be followed precisely. Set a timer and process for the entire recommended time at the proper psi pressure if pressure canning. This ensures harmful bacteria and toxins are eliminated.
Recognizing and Addressing Canning Mishaps
If lids fail to seal properly or food leaks out during processing, consume right away or reprocess within 24 hours. Look for signs of spoilage like mold, sliminess, or spurting liquid before opening jars. Any issues could indicate food safety hazards, so exercise caution before tasting potentially spoiled canned goods.
Following these prepping canning safety fundamentals helps ensure your home canned creations are shelf-stable and safe to store long term.
Step-by-Step Water Bath Canning for Preppers
Understanding Water Bath Canning for Food Reserves
Water bath canning is a simple canning method that uses boiling water to process high-acid foods like fruits, jams, jellies, pickles, and tomatoes. It allows preppers to safely preserve foods at home without needing specialized equipment.
The key supplies needed are jars, lids, a canning rack, and a large pot with a lid to fit several jars. Food is packed into clean jars, leaving headspace at the top. Lids and bands are put on, then jars are submerged in boiling water for a specified time to kill bacteria and seal the lids.
Water bath canning only works for high-acid foods under a pH of 4.6. Trying to can low-acid foods with this method can allow botulism bacteria to survive, making the food unsafe.
Water Bath Canning Instructions: A Step-by-Step Guide
Follow these safety tips and step-by-step instructions for successful water bath canning for preppers:
- Use approved canning jars and two-piece lids specifically for canning. Check for cracks or defects.
- Only can high-acid foods like fruit, tomatoes, jams - no vegetables unless acidified.
- Use a rack to keep jars submerged and prevent bumping.
- Fill pot with enough water to cover jars by 1-2 inches.
- Bring water to a rolling boil before adding jars.
- Pack jars tightly with food, leaving recommended headspace.
- Remove air bubbles by sliding a chopstick along the inside of the jar.
- Wipe rims with a clean, damp paper towel before putting on pre-heated lids.
- Process jars by submerging in vigorously boiling water. Start timer once water returns to a boil.
- After processing, use a jar lifter to carefully remove jars. Allow to cool undisturbed for 12-24 hrs.
- Check jar seals, label with contents and date. Store in cool, dark place up to 1 year.
Always use tested recipes and follow processing times precisely. Adjust for your altitude if needed.
Water Bath Canning Recipes for a Well-Stocked Pantry
Some easy water bath canning for preppers recipes to build food reserves:
- High-acid fruits like berries, peaches, nectarines, apricots
- Apple slices or apple sauce
- Jams and fruit spreads
- Pickled vegetables like dill pickles, relish, salsa
- Tomatoes and tomato products
- Fruit juices or fruit syrups
When canning tomato products, always add an acidifier like lemon juice or citric acid. Combination recipes like salsa, chili sauce, or vegetable medleys can also be safely processed.
Refer to trusted sites like the National Center for Home Food Preservation. Only use recipes formulated for water bath canning.
Labeling and Tracking Your Water Bath Canned Goods
Properly labeling and rotating water bath canned goods is key to getting the most out of your food reserves:
- Label jars with contents and canning date immediately after processing.
- Use the first-in, first-out system to rotate older canned goods to the front.
- Inspect jars before opening - do not use if lid bulging, rusty bands, mold, etc.
- For best quality and nutrition, try to use home canned goods within 1 year.
- Always boil home canned vegetables for 10 minutes before eating to ensure safety.
With some simple equipment, training, and tested recipes, water bath canning for preppers can help boost your self-reliance through building nutrient-dense food reserves.
Step-by-Step Pressure Canning for Preppers
Pressure canning is an essential technique for preppers looking to build their food reserves. By canning low-acid foods under pressure, harmful bacteria is destroyed, allowing the canned goods to be shelf-stable for 1+ years. This section will cover the basics of pressure canning specifically for preppers.
Decoding Pressure Canning for Prepper Food Storage
Pressure canners allow low-acid foods like meat, seafood, poultry, and vegetables to be canned safely. Food is packed into jars, placed in the canner filled with 2-3 inches of water, then heated under pressure to 240°F-250°F, destroying bacteria.
Key pressure canning equipment for preppers includes:
- Pressure canner with accurate dial or weighted gauge
- Canning jars and lids
- Jar lifter
- Bubble remover and headspace measuring tool
- Clean towels
Pressure canning extends the shelf life of canned goods to 1+ years when done properly, making it the go-to canning method for building prepper food reserves.
Pressure Canning Instructions: A Step-by-Step Tutorial
Follow these basic steps for safe pressure canning suitable for beginner preppers:
- Fill canner with 2-3 inches of hot water and preheat if possible. Load filled jars of food leaving space between jars.
- Lock the canner lid in place. Vent steam for 10 minutes on medium heat.
- Once the venting period passes, close the vent to pressurize the canner.
- Start timing based on your recipe's specified pressure canning time once the desired pressure is reached.
- Regulate heat to maintain consistent pressure.
- When time's up, turn off the heat. Allow canner to depressurize and cool before opening.
- Remove jars and check seals. Any unsealed jars should be refrigerated and consumed first.
Always monitor the canner during the entire canning process. Refer to manufacturer guidelines for operating instructions.
Pressure Canning Recipes for Nutrient-Dense Prepper Meals
Some pressure canning recipes well-suited for preppers include:
- Soups and stews with meat and veggies
- Chili
- Beef/chicken canned in broth
- Canned salmon, tuna, sardines, or other fish
- Plain vegetables like green beans, carrots, peas, etc.
Choose recipes packed with protein, nutrients, and calories for reliable prepper food reserves. Adjust processing times as needed based on your altitude.
Maintaining Pressure Canners for Reliable Food Preservation
To keep pressure canners in working order for years of continued use:
- Follow manufacturer cleaning instructions. Avoid harsh scouring pads.
- Replace gauges if readings are inconsistent or inaccurate.
- Lubricate lids/gaskets yearly to prevent sticking.
- Inspect and replace worn or damaged parts.
- Store canner with the lid slightly open to avoid moisture buildup.
With proper use and maintenance, a quality pressure canner will provide decades of reliable and safe food preservation.
Organizing and Storing Your Canned Goods
Properly storing canned goods is crucial for maximizing freshness and shelf life. Here are some best practices:
Creating the Ideal Storage Environment for Canned Food
- Store cans in a cool, dark place between 50-70°F. Temperature fluctuations can affect food quality.
- Avoid direct sunlight exposure which can discolor labels and affect nutrient levels.
- Maintain moderate humidity around 60% to prevent cans from drying out or rusting.
Implementing Efficient Organization Systems for Canned Goods
- Inventory current supplies and write expiration dates on cans with a permanent marker for easy rotation.
- Group similar food types together on shelves for quick identification. Stack cans to conserve space.
- Label storage containers or shelving with contents and dates to stay efficiently organized.
Detecting Signs of Spoilage in Home-Canned Foods
- Bulging lids, leaking seals, rust, and unpleasant odors indicate spoiled contents.
- Check seals before opening - if broken or popped up, do not consume as botulism risks exist.
- Once opened, inspect appearance and smell - discard immediately if mold, off-colors or rancid odors are present.
Rotating Stock: Ensuring Your Canned Goods Remain Fresh
- Use oldest supplies first following the “First In, First Out” (FIFO) method by rotating new stock to the back.
- Check dates every 6 months and pull anything expired to the front to be used next.
- Consider donating unopened cans nearing expiration to local food banks.
Properly storing canned goods allows preppers to keep food reserves fresh and safe for emergency situations. Following organization and rotation best practices prevents waste and ensures you have adequate supplies when needed.
Conclusion: Embracing Canning for Prepper Resilience
Recap of Key Canning Instructions and Safety Tips
When canning, it is important to follow proper procedures to ensure food safety. Key tips covered in this guide include:
- Use the right canning equipment - A pressure canner for low-acid foods, a water bath canner for high-acid foods. Glass jars with new lids specifically for canning.
- Validate recipes and processes - Only use trusted, tested guidelines from reputable sources.
- Carefully monitor time and pressure - Closely follow instructions for processing times and pressure levels. Use reliable dial gauges.
- Allow for proper headspace - Leave recommended headspace below jar lids for expansion and sealing.
- Test jar seals before storing - Ensure lids have properly sealed; reprocess any jars with failed seals.
Following validated processes precisely is crucial to eliminate risk of botulism or other foodborne illnesses.
Advancing Your Canning Skills for Comprehensive Prepping
To further build your self-reliance through canning:
- Diversify recipes for well-rounded food reserves - Try canning proteins, broths, meals-in-a-jar, etc.
- Learn to preserve produce from your garden - Extend seasonal abundance through canning.
- Master pressure canning techniques - Unlock ability to safely preserve low-acid foods.
- Take a canning class in your community - Gain hands-on guidance from experts.
As your skills progress, continue using reputable guidelines for all recipes and processes.
Committing to Ongoing Canning Education for Safe Food Storage
As research brings new insights over time, canning recommendations evolve. Commit to ongoing education through trusted sources like the National Center for Home Food Preservation. Stay vigilant in your process validation for every batch you preserve. With careful, precise technique guided by current guidelines, you can safely build resilience through home food reserves.