Introduction to Canning for Prepping and Self-Reliance
Canning has been used as a food preservation method for centuries, with origins dating back to the late 18th century when Nicolas Appert discovered he could preserve food in sealed glass jars. The basic principles remain the same today - placing foods in sterile, air-tight containers and then heating them to a temperature that destroys microorganisms and inactivates enzymes that cause spoilage. This allows canned goods to be shelf-stable and safe to eat for 1-2 years or longer.
The canning process begins with selecting fresh, peak-quality foods. Jars, lids and bands are sanitized, and the food is prepared according to a tested recipe - for example, raw packing or hot packing fruits and vegetables. Headspace is left at the top of the jar, then lids and bands are affixed. Jars are placed in a water bath canner or pressure canner and heated to temperatures that kill harmful bacteria. After processing, the jars are removed and cooled. The vacuum seal button on the lids gets pulled down during cooling, indicating a proper seal. Sealed canned goods can then be stored in a cool, dark place.
Canning is an invaluable skill for preppers and survivalists seeking self-reliance. Having a supply of home-canned foods means you can safely preserve essential vitamins, minerals, calories and nutrition your family needs if SHTF and normal access to grocery stores is disrupted. Canning your own food enables independence and provides insurance against potential food shortages. It also allows you to preserve and store the yield from your survival garden. With the right supplies and techniques, canning can be easy, safe and cost-effective. This guide will walk through the key steps and best practices.
The Benefits of Canning for Survival Preparedness
- Allows you to preserve fresh foods for up to 1-2 years safely
- Provides a reliable stockpile of nutritious food if SHTF
- Enables self-sufficiency and independence from stores/supply chain
- More affordable than buying commercially canned goods
- Allows you to preserve food from your survival garden
- Nutritious comfort foods like soups and stews can be canned
Foods Best Suited for Canning
- High-acid foods like fruits, tomatoes, pickles
- Low-acid foods like vegetables, meats when pressure canning used
- Nutritious and calorie-dense foods like beans, soups, stews
- Foods you already eat regularly
- Foods that store well and won't lose texture/flavor
Canning Safety Fundamentals
- Only use approved, lab-tested canning recipes from trusted sources like the National Center for Home Food Preservation
- Follow all processing times precisely to destroy bacteria/toxins
- Check jars for proper seals after cooling
- Never eat from jar with broken seal or food that smells bad
- Use new lids each time you re-can something
- Handle glass jars with care to prevent breaking/chipping
Choosing Canning Jars and Lids
- Use Mason/Ball/Kerr brand jars made for home canning
- Select wide-mouth jars for easier filling and cleaning
- Jars must match recipe's specified size
- Only reuse undamaged jars, avoiding any cracks or defects
- Use new lids for a proper vacuum seal each canning session
- Have extra jars/lids on hand in case of breakage
Top Canning Tools and Equipment
- Pressure canner like All American Canner for low-acid foods
- Water bath canner like Granite Ware for high-acid foods
- Jar lifter for safe handling of hot jars
- Lid lifter for safe handling of hot lids
- Canning funnel for spill-free filling
- Bubble remover to release trapped air
- Clean towels for de-bubbling jars
- Magnetic lid wand for easy lifting lids out of hot water
- Jar wrench for checking seals and opening jars later
Water Bath Canning Step-by-Step
The water bath canning method is suitable for high-acid foods like fruits, jams, jellies, pickles and tomatoes. This section will walk through the key steps of preparing your jars and equipment, processing in a water bath canner, cooling properly, and troubleshooting any issues.
Getting Your Canning Setup Ready
- Thoroughly inspect jars for defects and sanitize in hot, soapy water
- Simmer new lids in hot water to soften rubber rings
- Fill canner halfway with water and preheat to 140°F
- Prepare your recipe while waiting for canner water to preheat
- Set sanitized jars on a clean towel to air dry - no towels inside
- Have your jar lifter, funnel, bubble remover, lid wand nearby
Filling Jars and Preparing for Processing
- Use a wide-mouth funnel to carefully fill jars with food/liquid, leaving proper headspace
- Slide bubble remover down inside jar and along edges to release trapped air
- Wipe jar rims with a clean, damp towel before sealing
- Apply lids and bands fingertip tight - do not overtighten
- Use jar lifter to carefully load sealed jars into canner
- Add more boiling water if needed to cover jars by 1-2 inches
Processing Jars in Water Bath Canner
- Cover canner and bring water to a full rolling boil
- Once boiling, start timer for the precise processing time specified in recipe
- Maintain a vigorous, constant rolling boil throughout entire processing time
- If water stops boiling at any point, bring back to a full boil and restart timer
- When timer goes off, promptly remove canner from heat using mitts
Cooling and Storing Canned Jars
- Use jar lifter to gently transfer jars onto a towel without tipping
- Leave 1 inch space between jars for proper airflow during cooling
- Let jars sit undisturbed for 12-24 hours
- After cooling, check lids for an indented vacuum seal
- Reprocess any unsealed jars within 24 hours for safety
- Wipe and label sealed jars before storing in a cool, dark place
Troubleshooting Water Bath Canning
- If food spilled onto jar rim, carefully wipe rim completely clean before sealing
- If lids won't seal, jars may have been underprocessed - reprocess for full time
- If food is floating, remove bubbles more thoroughly before sealing jar
- If food seems discolored, may be minerals in water or natural plant compounds
- If food loses significant liquid, use less headspace or shorter processing time
Pressure Canning Step-by-Step
Pressure canning allows you to safely can low-acid foods like vegetables, meats, seafood, and stews. This method uses higher heat to destroy botulism-causing bacteria spores. Here are the key steps for safe pressure canning success.
Getting Your Pressure Canner Setup Ready
- Inspect jars and lids; sanitize and gently heat to prevent cracking
- Pour 2-3 inches of hot water into the pressure canner
- Place steamer rack or trivet in bottom of canner
- Turn heat to high and vent canner for 10-15 minutes preheating
Filling Jars and Loading into Canner
- Use funnel and bubble wand when filling jars, leaving proper headspace
- Wipe rims clean before sealing; fingertip tighten lids/bands only
- Use jar lifter to carefully place sealed jars onto rack in canner
- Fasten canner lid; leave weight off vent port or petcock open
Venting and Pressurizing Canner
- Allow steady steam flow from vent/petcock for 10 minutes to remove air
- Close vent or petcock; allow pressure to rise to target PSI
- Once target pressure reached, start processing timer
Depressurizing and Removing Jars
- When timer goes off, turn off heat and allow canner to depressurize
- Wait 10 minutes then open vent; wait for hissing to fully stop
- Unfasten lid away from you once gauge shows 0 PSI
- Use jar lifter to transfer jars onto towel without tipping
Checking Seals and Troubleshooting
- After 12-24 hours, check lid seals; reprocess unsealed jars ASAP
- If liquid lost - use just 1/4 inch headspace or longer processing time
- If food discolored from minerals or plant compounds, still safe
- If lids won't seal, underprocessing is likely - reprocess jars
- If leaking from vent, debris may be blocking it; clean vent
Key Takeaways for Successful Canning
Canning can seem intimidating for beginners, but follow these best practices and you'll be preserving essential foods for your family in no time.
- Strictly follow trusted, lab-tested recipes and processing times
- Use proper canning equipment; sanitize jars to prevent spoilage
- Leave headspace, remove bubbles, and wipe rims for good seals
- Process jars for full time at correct pressure or temperature
- Promptly reprocess unsealed jars to prevent spoilage
- Store cooled, labeled jars in a dark place below 85°F
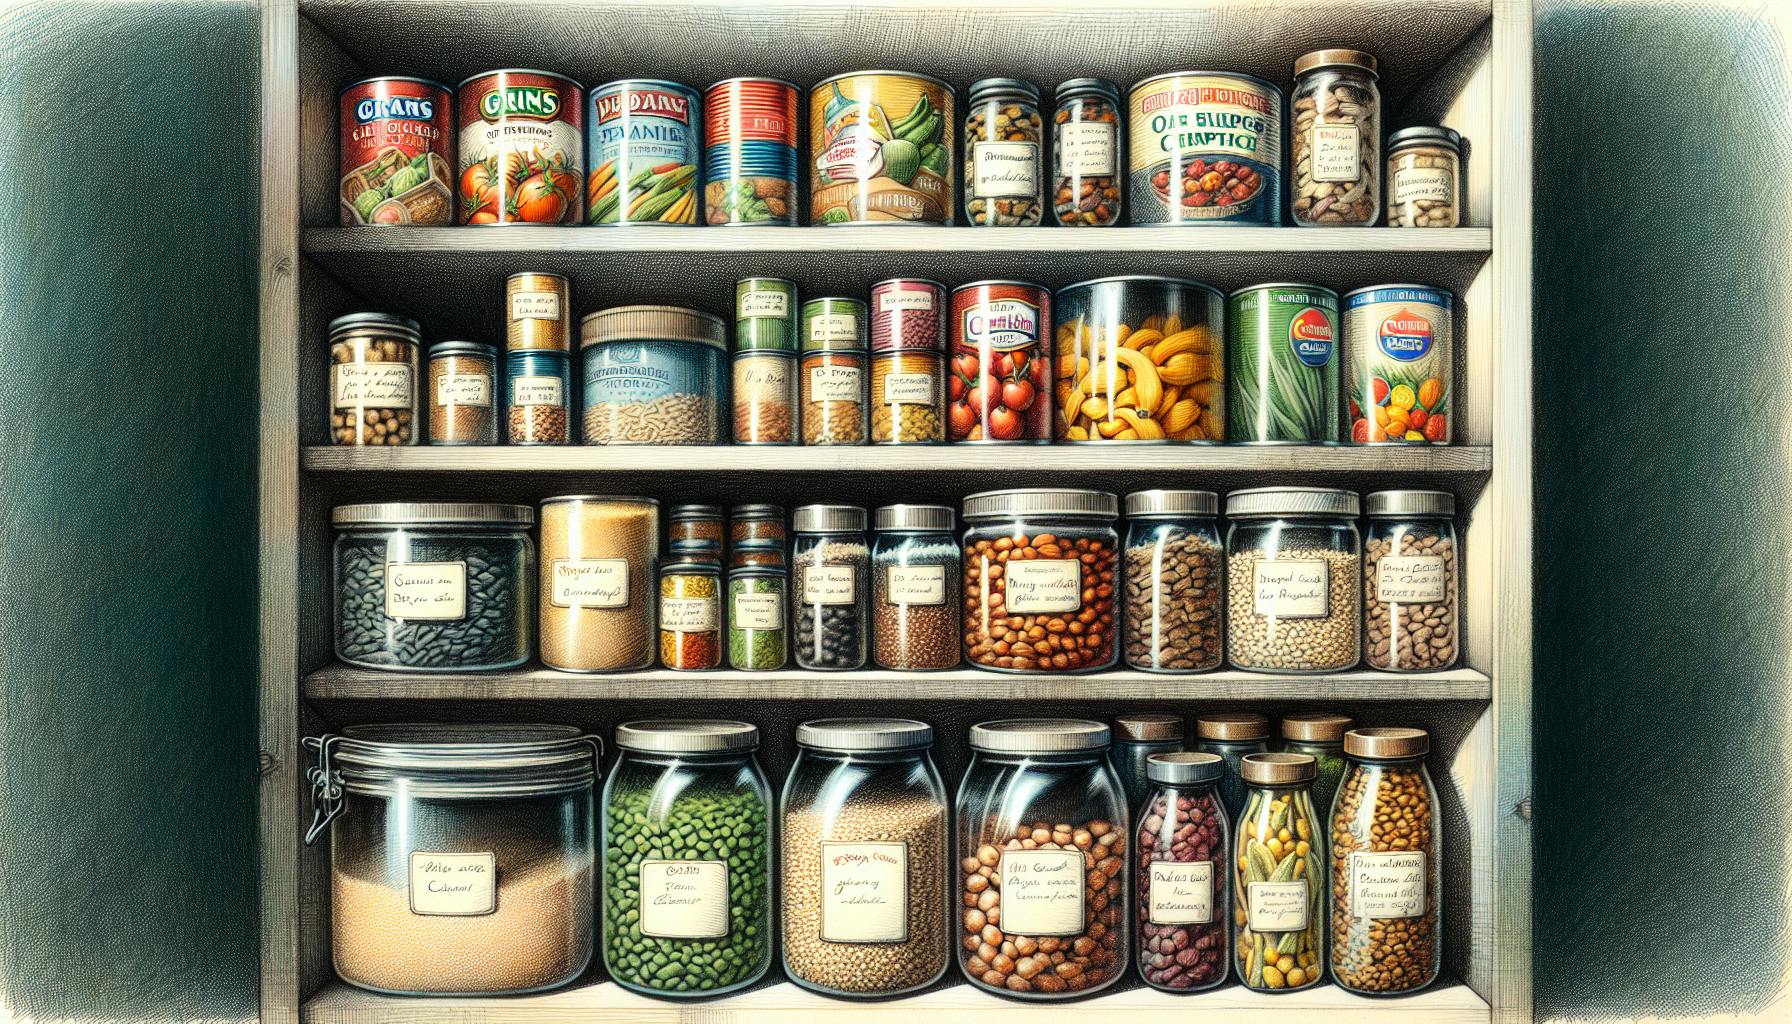
Mastering proper canning techniques for both water bath and pressure methods means you'll gain a valuable self-reliance skill. Having shelves of home-canned fruits, vegetables and soups means you have nutritious foods stockpiled and readily available if an emergency disrupts normal grocery supply chains. Take your prepping to the next level with safe, effective canning for survival.


