Assembling an emergency home survival kit is a practical way to prepare for unexpected crises.
This comprehensive guide will provide a step-by-step walkthrough on creating a customized kit with essential supplies to meet your family's unique needs during an emergency.
You'll learn strategies for choosing durable containers, packing critical items like food, water, first aid, tools, and more. You'll also discover maintenance tips to ensure your kit remains ready to use at a moment's notice.
Preparing for the Unexpected with an Emergency Home Survival Kit
Being prepared for emergencies and disasters is critical, yet studies show only 40% of households have basic emergency supply kits. Having an emergency home survival kit can make all the difference during unforeseen events - providing essential provisions when you need them most. Let's explore the key items your household should have on hand.
Understanding the Essentials of an Emergency Survival Kit
An emergency home survival kit contains critical supplies to sustain your household for at least 3 days when normal services are disrupted. This includes food, water, first aid, tools, hygiene items, clothing, documents, and communication devices.
The exact contents can vary based on your needs, but most kits feature:
- Water - 1 gallon per person per day
- Food - Non-perishable, high-protein items
- First aid - Bandages, gauze, medicines, etc.
- Tools - Flashlight, batteries, radio, matches, multi-tool
- Sanitation - Toilet paper, garbage bags, personal hygiene items
- Clothing - Seasonally appropriate clothes, gloves, rain poncho
Tailor your emergency home survival kit to meet your household's unique considerations - including ages, health status, pets, and common regional risks like earthquakes, storms or extreme heat.
Advantages of a Personalized Emergency Kit
While pre-made emergency kits are available for purchase, crafting your own custom version allows you to:
- Include items suited for your family's ages, genders, health status, medications, and other unique needs
- Account for regional risks - snow storms, hurricanes, earthquakes, wildfires, etc.
- Factor in supplies for pets or service animals
- Replace expired items as needed
- Adjust provisions based on family size
- Add comforting items like photos, games, and favorite snacks
Personalizing your emergency survival kit ensures you have the right provisions on hand if disaster strikes your household. Follow our easy guide to compile your own.
What should a home emergency kit have?
Having the essential survival supplies in your home emergency kit can help you be better equipped to handle emergencies and disasters. Here are some key types of items that your emergency kit should include:
Water
- 1 gallon of water per person per day for a 3-day evacuation supply and a 2-week home supply at minimum
- Store water in sealed, food-grade plastic containers to maximize shelf life
Food
- Stock up on non-perishable, high-energy, easy-to-prepare foods like granola bars, canned goods, dehydrated meals, nuts and trail mix
- Have at least a 3-day supply for evacuation and 2-week supply for sheltering at home
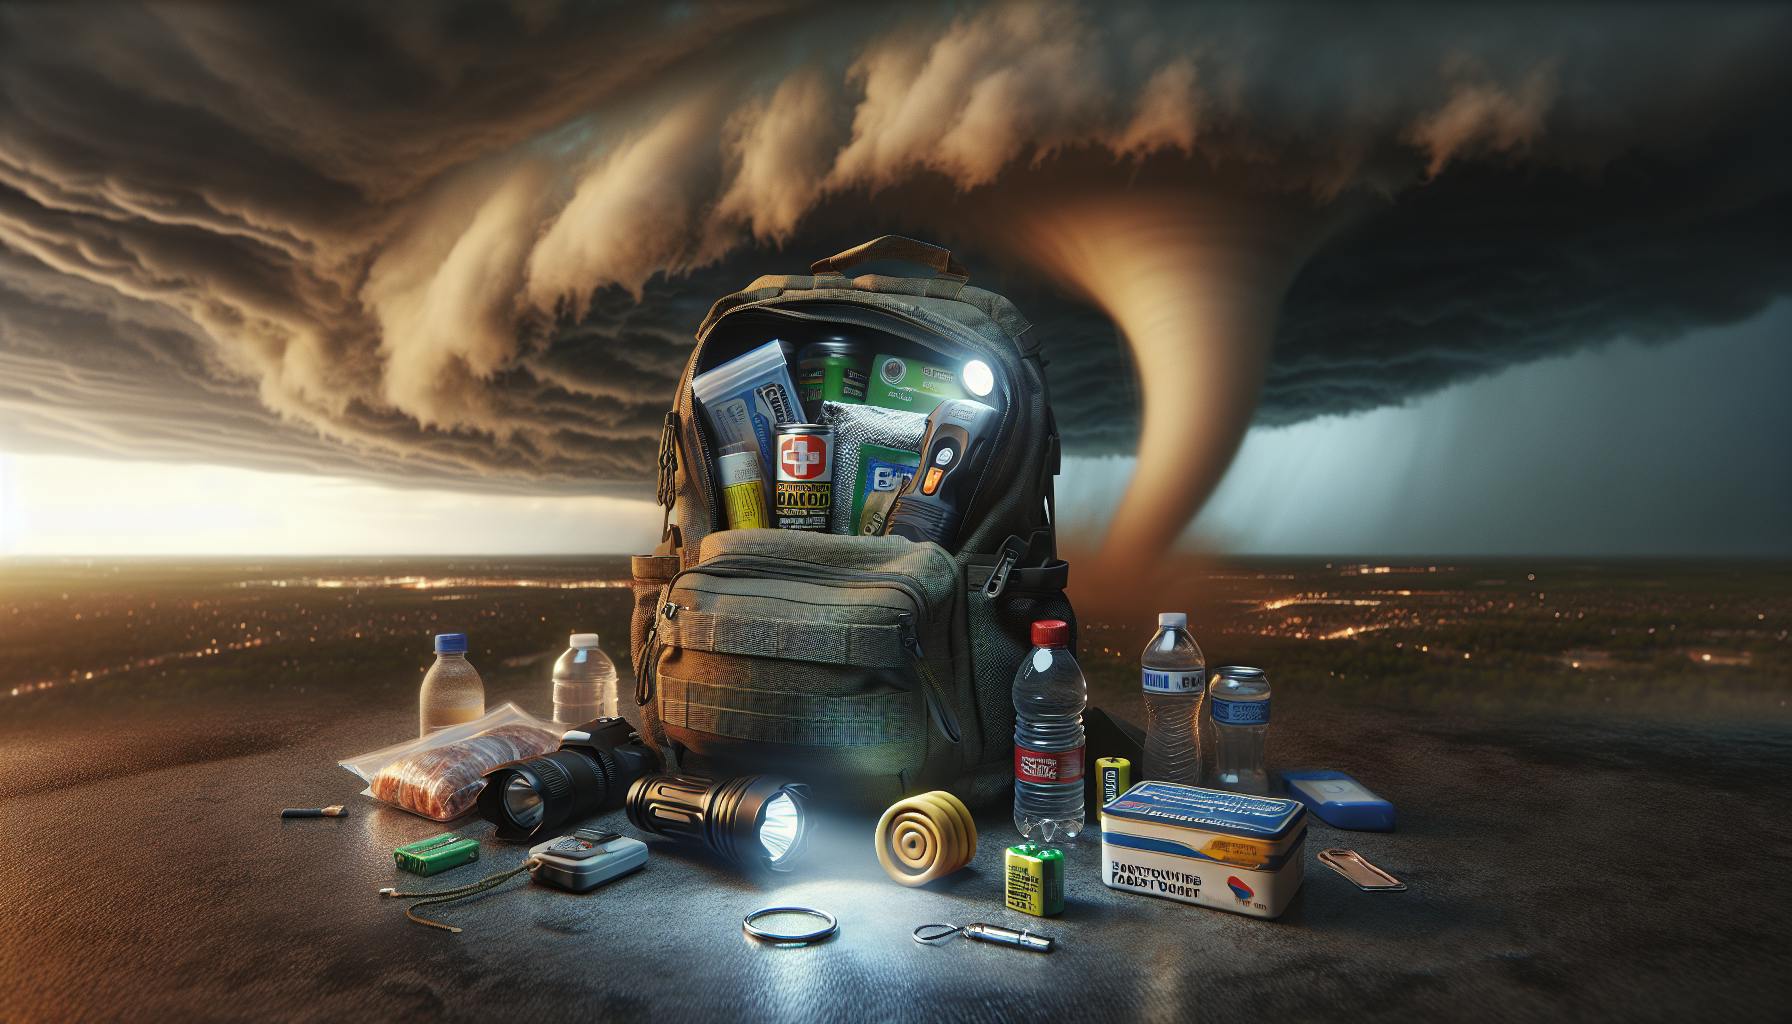
Lighting and Communication
- Pack flashlights with extra batteries or consider a hand-crank model for backup
- A battery-powered or hand-crank emergency home survival kit radio can provide weather updates, emergency alerts, and information in power outages
- Choose one with NOAA broadcasting if possible for access to weather channels
Remember to check and refresh your emergency supplies at least twice a year. Having your essential items organized, maintained and readily available will help you be prepared when disasters strike.
What should be in a homemade survival kit?
Having a well-stocked emergency survival kit at home is an important part of being prepared for disasters or emergencies. The basics that every homemade survival kit should contain include:
Water
- At least 1 gallon of water per person per day for drinking and sanitation needs
- Store in sealed, unbreakable containers
Non-perishable food
- Enough to last each person at least 3 days
- Items like canned goods, energy bars, dried foods that won't expire
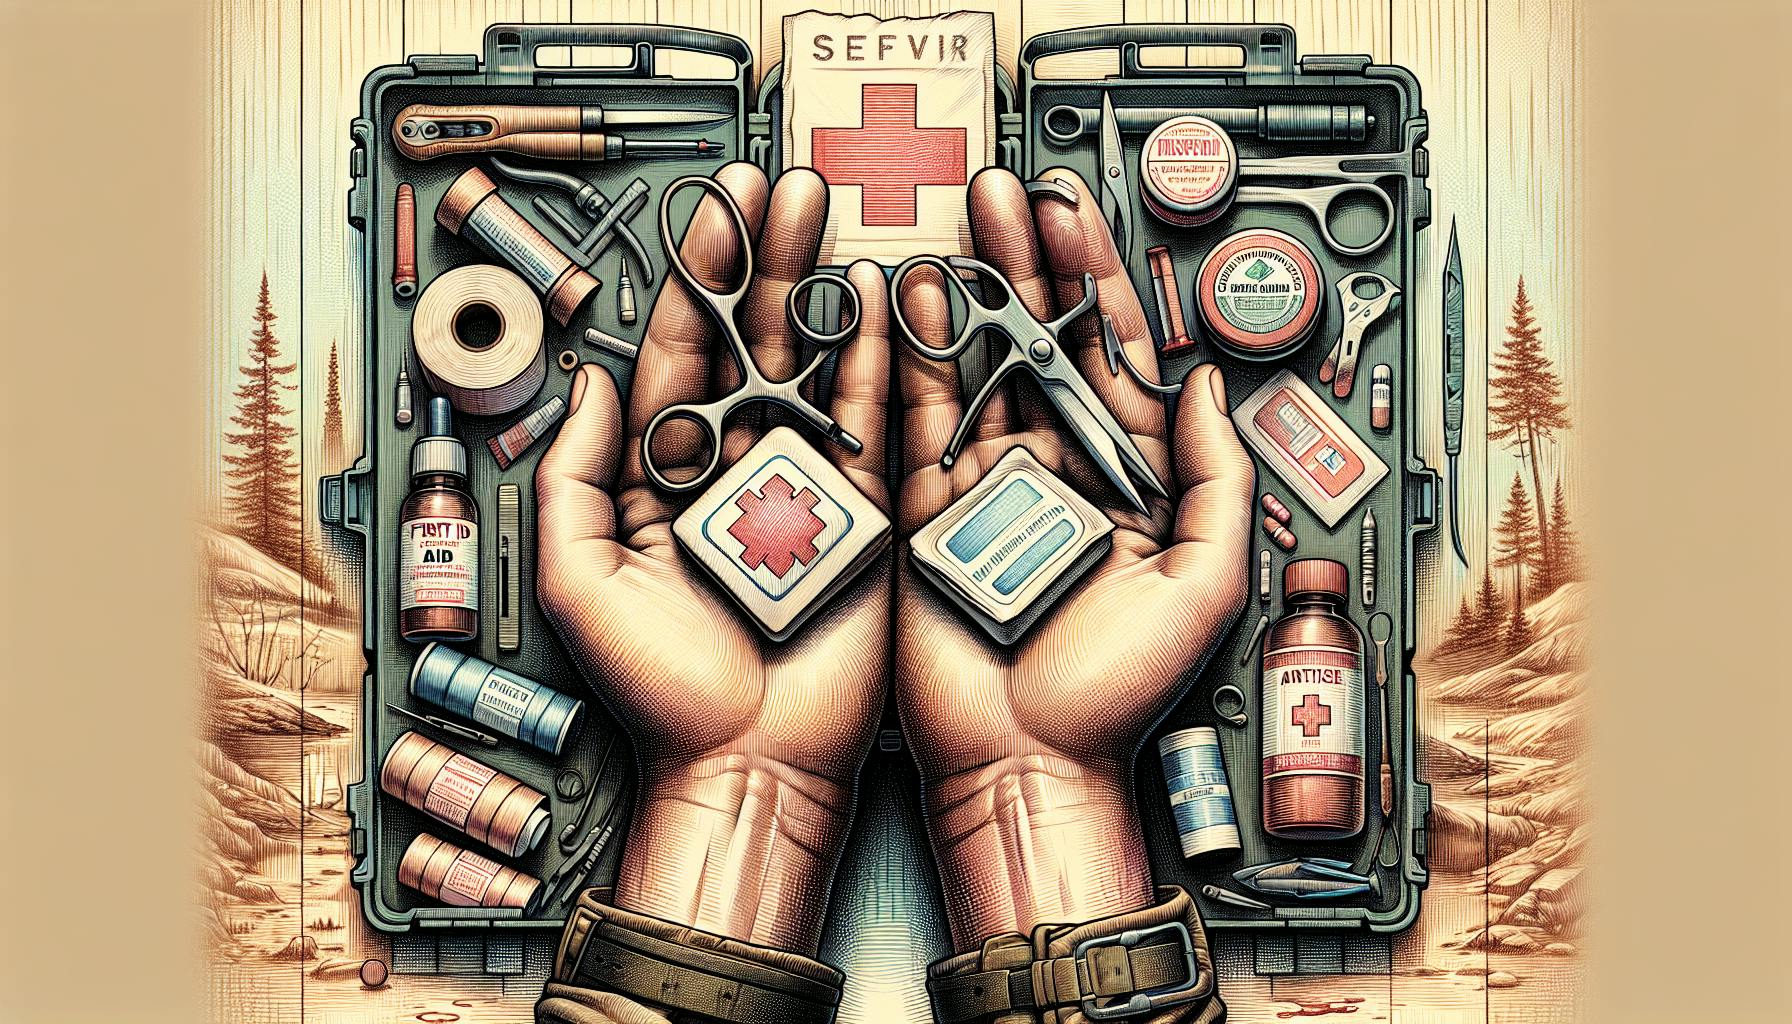
First aid supplies
- Basic first aid kit with bandages, antiseptic, medications
- Also pack emergency blanket, gloves, scissors, etc.
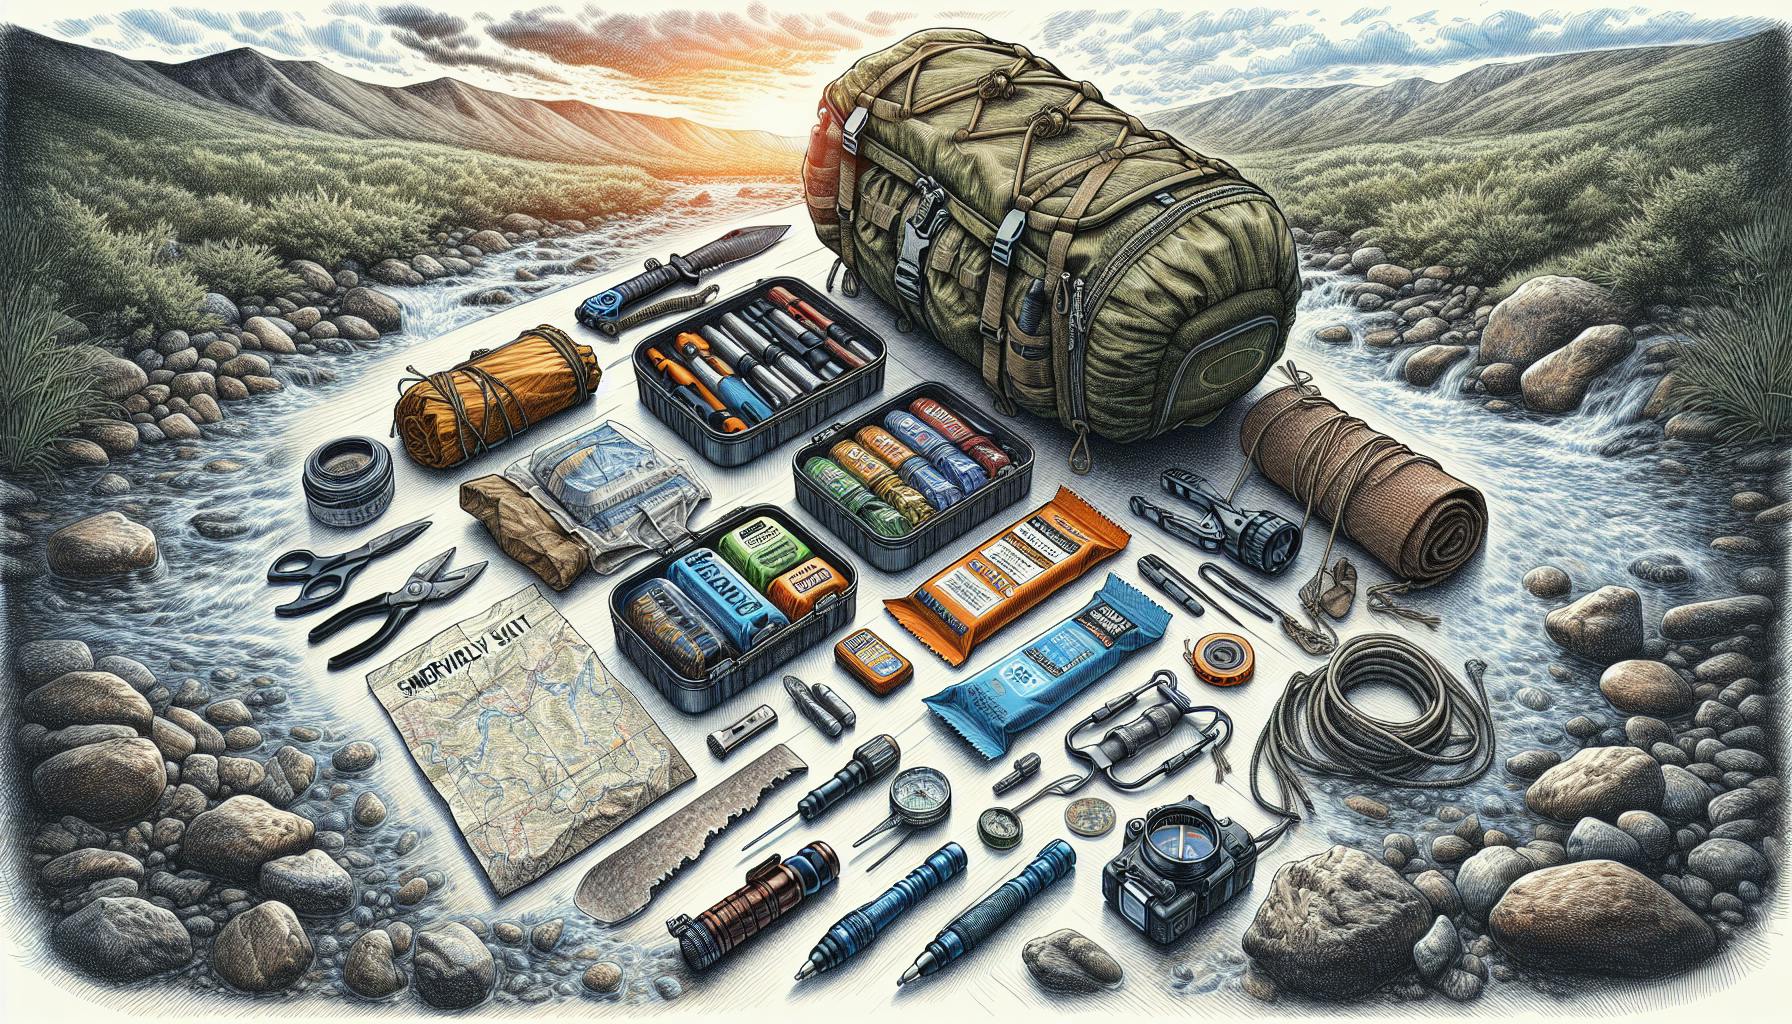
Tools and supplies
- Battery-powered radio to get weather updates
- Flashlight with extra batteries
- Whistle to signal for help
- Can opener for food
- Local map to identify evacuation routes
Personal items
- Prescription medications
- Eyeglasses
- Infant supplies like formula and diapers if needed
The exact items to include depend on your household needs. Make sure to check expiration dates and replenish any used items at least twice a year. Keeping an emergency home survival kit ready means your family will be prepared when disaster strikes.
What are 20 items in a emergency kit?
When assembling your emergency home survival kit, it's important to include essential supplies to support your family for at least 3 days. Here's a comprehensive 20 item checklist to guide you:
Food and Water
Stock up on non-perishable foods like granola bars, canned goods, nuts, and dried fruits. Don't forget pet food too! You'll also need at least 1 gallon of water per person per day - store some bottles plus water purification tablets.
Tools and Supplies
Gather flashlights, batteries, a manual can opener, utility knife, duct tape, and a multi-tool. Also pack blankets, garbage bags, towels, and a basic first aid kit.
Health and Hygiene
Include prescription medications, painkillers, soap, toothbrushes, feminine products, toilet paper, and other essentials to meet sanitation needs.
Communication and Documentation
Ensure you have an emergency whistle, AM/FM radio, list of emergency contacts, extra cash, and copies of important documents like IDs in a waterproof bag.
By having these 20 key items on hand, you'll be well prepared when an emergency strikes. Customize based on your family's unique needs too. With some advanced planning, you can ride out many crises in reasonable comfort.
How to get free emergency kit?
The Federal Emergency Management Agency (FEMA) offers free emergency preparedness kits called the Emergency Financial First Aid Kit (EFFAK). This kit provides a checklist of important financial documents and contacts to have on hand in case an emergency or disaster strikes.
To get your free EFFAK kit, you can download and print the PDF file from the FEMA website. The EFFAK contains useful forms and templates to record vital household information, including:
- Insurance policies with policy numbers
- Bank, credit card, utilities account numbers
- Medical information
- Household contacts
- Copies of identification documents
Having all this critical information organized in one place will help you recover faster if your home and belongings are damaged. The EFFAK gives step-by-step guidance on securing these crucial records and contacts so they are available when needed.
It also outlines important steps to take in preparing financially for emergencies:
- Building an emergency savings fund
- Reviewing insurance policies
- Reducing debt
Downloading and completing the Emergency Financial First Aid Kit is an easy, worthwhile task that will give you greater security and peace of mind.
sbb-itb-b932644
Essential Items for Your Emergency Kit List
Assembling a complete emergency kit for your home ensures you have the necessary supplies on hand should disaster strike. Being prepared saves precious time in an emergency when every minute counts. Use this comprehensive shopping list broken down by essential categories to stock your home survival kit.
Nutrition and Hydration: The Top 10 Items for Sustenance
Having ample food and water is critical in an emergency situation. Focus on non-perishable, high calorie foods as well as ample water filtration and storage options:
- Canned goods (beans, vegetables, fruits, soups, meats)
- MREs (Meals Ready-to-Eat)
- Protein/granola bars
- Nuts and trail mixes
- Powdered milk, cereals, and protein shakes
- Bottled water (1 gallon per person per day for at least 3 days)
- Water filtration system (LifeStraw, Lifestraw bottle, Sawyer filter)
- Water purification tablets (iodine, chlorine dioxide)
- Collapsible water storage containers and bladders
Stock up on a 2 week supply minimum of these sustenance essentials for your household. Rotate and replace foodstuffs before expiry dates.
First Aid Fundamentals: Emergency Kit Must-Haves
Medical emergencies can happen at any time. Equip your home to handle injuries with these first aid must-haves:
- First aid manual
- Bandages (various sizes)
- Gauze pads and roller gauze
- Adhesive tape
- Antibiotic ointment
- Antiseptic wipes
- Pain medication (ibuprofen, acetaminophen)
- Anti-diarrhea medication
- Electrolyte packets
- Medical gloves and face masks
- Trauma shears and tweezers
- Digital thermometer
- Splints
Rotate medications before expiration and ensure all supplies are organized and easy to access.
Comfort and Protection: Shelter and Bedding Essentials
Your home itself provides shelter, but having backup bedding and shelters on hand ensures warmth and comfort during prolonged emergencies:
- Emergency tent or tarp
- Sleeping bags and blankets
- Inflatable camping pads
- Travel pillows
- Cold weather clothing layers
- Emergency thermal blankets (space blanket)
- Rain ponchos and coverings
- Work gloves and boots
Test and refresh any shelters, sleeping systems, and weather protective gear yearly. Include items suitable for all family members.
Illuminating the Dark: Light Source Options
When the power goes out, light sources become essential to navigate safely. Stock reliable illumination tools:
- LED flashlights + extra batteries
- Headlamps + extra batteries
- Glow sticks
- Lanterns (battery, propane, or solar-powered)
- Candles and matches/lighters
- Light sticks
Store your emergency lighting centrally so everyone knows where to access it. Refresh batteries every 6 months. Waterproof and impact-resistant models excel for emergencies.
Having these categories covered ensures you can hunker down with your family and efficiently utilize your emergency home survival kit when required. Follow expiration dates for replenishment, and conduct family emergency drills periodically to maximize preparedness.
Selecting the Ideal Emergency Kit Container
Choosing the right container for your emergency kit is crucial to ensure your supplies are protected and easy to transport when needed. The container you select should balance durability with portability based on your household's unique needs.
Durability Meets Function: The Hard-Sided Container
Hard plastic storage bins and metal cases offer maximum protection for your emergency gear. Benefits include:
- Waterproofing and impact resistance: Sturdy bins shield delicate items like electronics, medicine, and documents from water damage or shocks during transport. Plastic still allows some bend without breakage.
- Stackable storage: Rectangular containers efficiently use space through stacking and modularity with same-sized units. Great for garages, basements, closets, etc.
- Tamper-proofing: Latches and locks on hard containers prevent accidental spills and discourage snooping kids or pets from accessing supplies meant for true emergencies.
However, large hard containers may be impractical to take on an evacuation. Prioritize essentials like first aid kits, flashlights, and food/water in portable bags.
Mobility Matters: Choosing a Backpack or Duffel as Your Emergency Kit Bag
For emergency kits designed to "grab and go," backpacks and duffel bags offer easy transport:
- Lightweight: Fabric bags weigh far less than rigid containers. Important if evacuating by foot.
- Shoulder/hand straps: Makes carrying heavy gear easier over long distances. Consider lumbar support and padded straps.
- Weather resistance: Choose bags with durable, water-repellent outer fabric. Inner plastic linings add moisture protection.
- Compartments: Interior dividers, pockets, straps, and closures keep contents organized. Quick access to what you need is key!
Consider the tradeoffs - soft bags sacrifice supply protection for lighter weight and compact storage when not in use.
Personalize for Preparedness: Adapting Your Container Choice
Consider your household's unique needs when selecting emergency kit containers:
- Smaller households may prioritize light bags for individual use. Larger families benefit from durable bins to hold more supplies.
- Households with children or pets should use childproof latches to avoid accidental access.
- Those with medical conditions may carry smaller personalized kits with medications and assistive devices in a purse or bag.
- Families who plan to evacuate by vehicle can transport larger, heavier containers more easily.
- Urban residents relying on public transport need compact, lightweight bags to carry.
No matter what container you choose for your emergency home survival kit, ensure it keeps critical supplies protected while allowing for transport tailored to your household evacuation plans. A durable yet mobile kit offers the best of both worlds!
Step-by-Step Guide to Assembling Your Emergency Survival Kit
A step-by-step guide walking through the key actions for putting together your customized emergency kit.
Inventory First: Leveraging What You Already Own
Before making any purchases for your emergency home survival kit, take an inventory of supplies you already have on hand that could be useful in an emergency situation. Go through your home methodically, room by room, making a list of items such as:
- First aid supplies like bandages, gauze, antibiotic ointment
- Medications you currently take or may need
- Canned goods and non-perishable foods with a long shelf life
- Bottled water or containers you can fill with water
- Flashlights and batteries
- Camping supplies like matches, fuel, cooking equipment
- Tools like duct tape, rope, plastic sheeting
Catalog everything thoroughly. Having an inventory list will help you identify any critical survival kit items you may be lacking while allowing you to save money by only purchasing what you truly need.
Essential Purchases: Completing Your Survival Kit List and Uses
With your existing inventory complete, make a list of any key emergency preparedness items missing from your survival kit list. Critical supplies commonly included are:
- First aid kit with essential medical supplies
- Emergency blankets and hand/foot warmers
- Battery-powered or wind-up AM/FM radio
- Multi-tool or Swiss Army Knife
- Flashlights with extra batteries or crank charger
- Whistle for signaling help
- Dust masks and plastic sheeting
- Water purification tablets
- Cash in small denominations
Research to identify reputable preparedness websites for recommendations on must-have emergency kit bag items. Purchase quality gear purpose-built for emergencies, focusing first on medical, communication, lighting and purification needs.
Cross reference your purchases against pre-made emergency survival kits to ensure your custom kit checks all the boxes for being fully prepared.
Strategic Packing: Organizing Your Kit for Accessibility
With all your supplies in hand, pack items neatly into containers sorted by emergency function. For example:
- Medical supplies in one container
- Food/water in another
- Communication gear in a separate container
Pack items you may need quickly like first aid kits, flashlights, radio near the top. Heavier items can go at the bottom.
Aim for portability in case you must evacuate quickly. Backpacks and wheeled bags allow for easy transport of all your survival kit items.
Label and List: Ensuring Quick Identification of Your Survival Kit Items
Finally, label all storage containers indicating contents using a permanent marker. Include a master list of all supplies stored inside each container.
Strategic labeling enables anyone (not just you) to quickly identify and retrieve needed items in high-stress emergency situations without guessing.
Periodically inspect containers to ensure fresh batteries, non-expired medication, and sufficient water/food. Replace as needed.
Following these steps will produce a comprehensive emergency home survival kit customized to your situation. Stay vigilant in preparedness by revisiting your inventory and survival shopping list annually.
Proper Storage Solutions for Your Emergency Kit
Storing your emergency survival kit properly is crucial to ensure its contents remain protected and easily accessible when needed most. Choosing the right location around your home is an important consideration when assembling your kit. As you determine where to store your emergency supplies, keep the following key factors in mind.
Securing Supplies: Storing Kits in the Garage or Shed
Storing emergency kits in a garage or shed can shield supplies from outdoor elements. However, extreme shifts in temperature and humidity levels can damage certain contents over time. Emergency food, medicine, batteries, flashlights, and electronics may become unusable if stored long-term in uncontrolled environments.
Consider storing sealed bins or heavy-duty storage containers in these spaces instead of full kits. This allows quick access to bulkier tools while protecting essentials indoors. Be sure to check any supplies kept in fluctuating conditions regularly for damage or expiration.
Below Ground, Above Standard: Basement Kit Storage
Basement storage offers natural temperature control and protection from the elements. Ensure your emergency supplies are safely stored off concrete floors to avoid moisture damage. Placing sealed bins on shelves or pallets can prevent direct contact with damp surfaces.
Considereasy basement access points during an emergency. Stairways or bulkhead doors that require electricity to open may not function during outages. Having an emergency escape ladder and supplemental lighting stored nearby provides reliable access.
Immediate Access: Safe Room or Shelter Storage
For emergency kits intended for immediate use during a disaster, storing your supplies in a designated safe room or shelter area allows quickest access. Having go-bags, food, water, first aid, tools, and other essentials pre-positioned eliminates retrieval time when seconds count most.
Hardened safe rooms built to FEMA standards offer reliable onsite protection during tornados, storms, or intruders. For apartment dwellers and renters, storing a portable kit near your sheltering location provides similar readiness. Just be cautious of potential theft or tampering when storing kits in less secure spaces.
Storing your emergency preparedness kits properly ensures critical supplies remain intact, protected, and rapidly accessible no matter the conditions. Conduct regular checks to monitor for damage, replace expired items, and confirm easy accessibility from storage. Remember, your family's survival may one day depend on it.
Routine Maintenance: Keeping Your Emergency Kit in Top Condition
Maintaining your emergency home survival kit is crucial for ensuring it is ready for use when disaster strikes. As time passes, food expires, batteries drain, and supplies get used up. Without proper care, your kit's integrity can degrade, rendering it useless right when you need it most. Establishing routine inspection and maintenance keeps all the contents intact, up-to-date, and able to serve their life-saving purpose at a moment's notice.
Track Expirations: Marking Dates on Your Emergency Kit List
When initially assembling your emergency home survival kit, make sure to indicate expiration or best-by dates clearly on all items or their containers, especially for anything consumable like food, water, and medicine. Food bars, MREs, canned goods, and bottled water all have limited shelf lives. Marking these expiry dates on the outside makes it easy to identify when rotation is needed during routine inspections. Setting reminder alerts on your phone calendar for every 6 months is an easy way to prompt yourself to do a sweep.
During your periodic reviews, check all expiration labels, and replace anything that is past its prime or close to hitting its date. Keeping an emergency kit list with notes on durations is helpful for knowing what should get swapped out each maintenance cycle. Having this rotation system ensures your supplies stay intact and ready for an emergency.
Replenishment and Rotation: Sustaining Your Survival Kit Supplies
In addition to replacing expired items, inspect your home survival kit to take stock of anything that may have been used up since your last review. Was the first aid kit accessed to treat a cut? Did the flashlight batteries get drained during a power outage? Were some of the food and water reserves tapped into during a snowstorm?
Replenishing any accessed or depleted gear is paramount after an event where you relied on your survival kit items. Taking notes on an emergency kit list during use will remind you what needs to be re-stocked. Setting a quarterly or bi-annual routine for inspecting and replacing expended supplies ensures your kit remains fully equipped for the next emergency situation.
Rotate longer-lasting items as you upgrade and improve too. Phase out old flashlight models with newer LED ones with longer battery life. Swap out basic rations for tastier, more nutritious survival food bars. Improving aspects of your kit over time increases reliability and performance.
Advancements in Preparedness: Updating with New Survival Items
As innovation progresses, new and improved emergency preparedness products emerge onto the market regularly. Integrating some of these advancements into your existing home survival kit enhances your capability to handle disasters.
An emergency kit bag designed with prepper features like Molle webbing for modular attachments can replace an outdated backpack. A metal credit card tool containing over 20 functions greatly outperforms a standard pocket knife multi-tool. A portable solar panel charger powered by the sun provides unlimited energy to devices.
Upgrading older offerings in your kit with these kinds of innovations streamlines carrying capacity, reduces weight, and expands your survival skillset. Stay in tune with the latest and greatest by following preparedness thought leaders, reading prepper product releases in your favorite blog or newsletter, and engaging with like-minded communities about what gear is essential for the modern home survival kit. Use your periodic maintenance checks as a chance to swap out legacy supplies with new innovative ones.
Prepared for Anything: Final Thoughts on Your Emergency Home Survival Kit
A comprehensive emergency home survival kit is essential for every household to be resilient and prepared for unexpected events. By choosing durable gear and supplies tailored to your unique risks and needs, you can craft a customized kit to weather any storm.
Choose Resilient Resources: The Longevity of Your Emergency Kit
When stocking your emergency kit, opt for resilient containers like waterproof storage bins and heavy-duty backpacks built to handle rough use. Prioritize gear designed for longevity over cheaper disposable options - items like stainless steel tools, batteries with long shelf lives, and rugged multi-use products will serve you well through years of potential disasters.
Pack non-perishable foods with lengthy expiration dates and regularly cycle through and replace any goods nearing their end of usability. The longer your emergency provisions last, the more prepared your household will remain even if cut off from outside aid for extended periods.
Adapt to Your Needs: Personalizing Your Survival Strategy
Carefully evaluate your household's unique risks and capabilities when assembling emergency kits. Stock supplies suited for likely regional disasters - flashlights for storms, fire extinguishers for wildfires, shovel and traction aids for snow. Also factor in special needs like medications, infant formula, or mobility accommodations.
Practice using your emergency gear under safe conditions to identify any shortcomings in your plan. Continuously refine your provisions and strategy as your circumstances evolve to ensure everyone in your household gets the support they need when disaster strikes.
Commit to Continuous Improvement: Evolving Your Emergency Resources
As innovative new emergency products emerge, look for opportunities to upgrade your kit with improved tools. Set reminders to routinely inspect your provisions for damage and replenish expiring rations. Conduct emergency drills periodically to keep survival practices sharp, identify enhancements, and ensure all members of your household know their role.
By committing to frequent evaluations and upgrading outdated elements of your kit, you enable it to evolve in step with best safety practices. A dynamic emergency strategy maximizes resilience no matter what the future brings. With a personalized, resilient stockpile of provisions, your household can face any crisis with confidence.