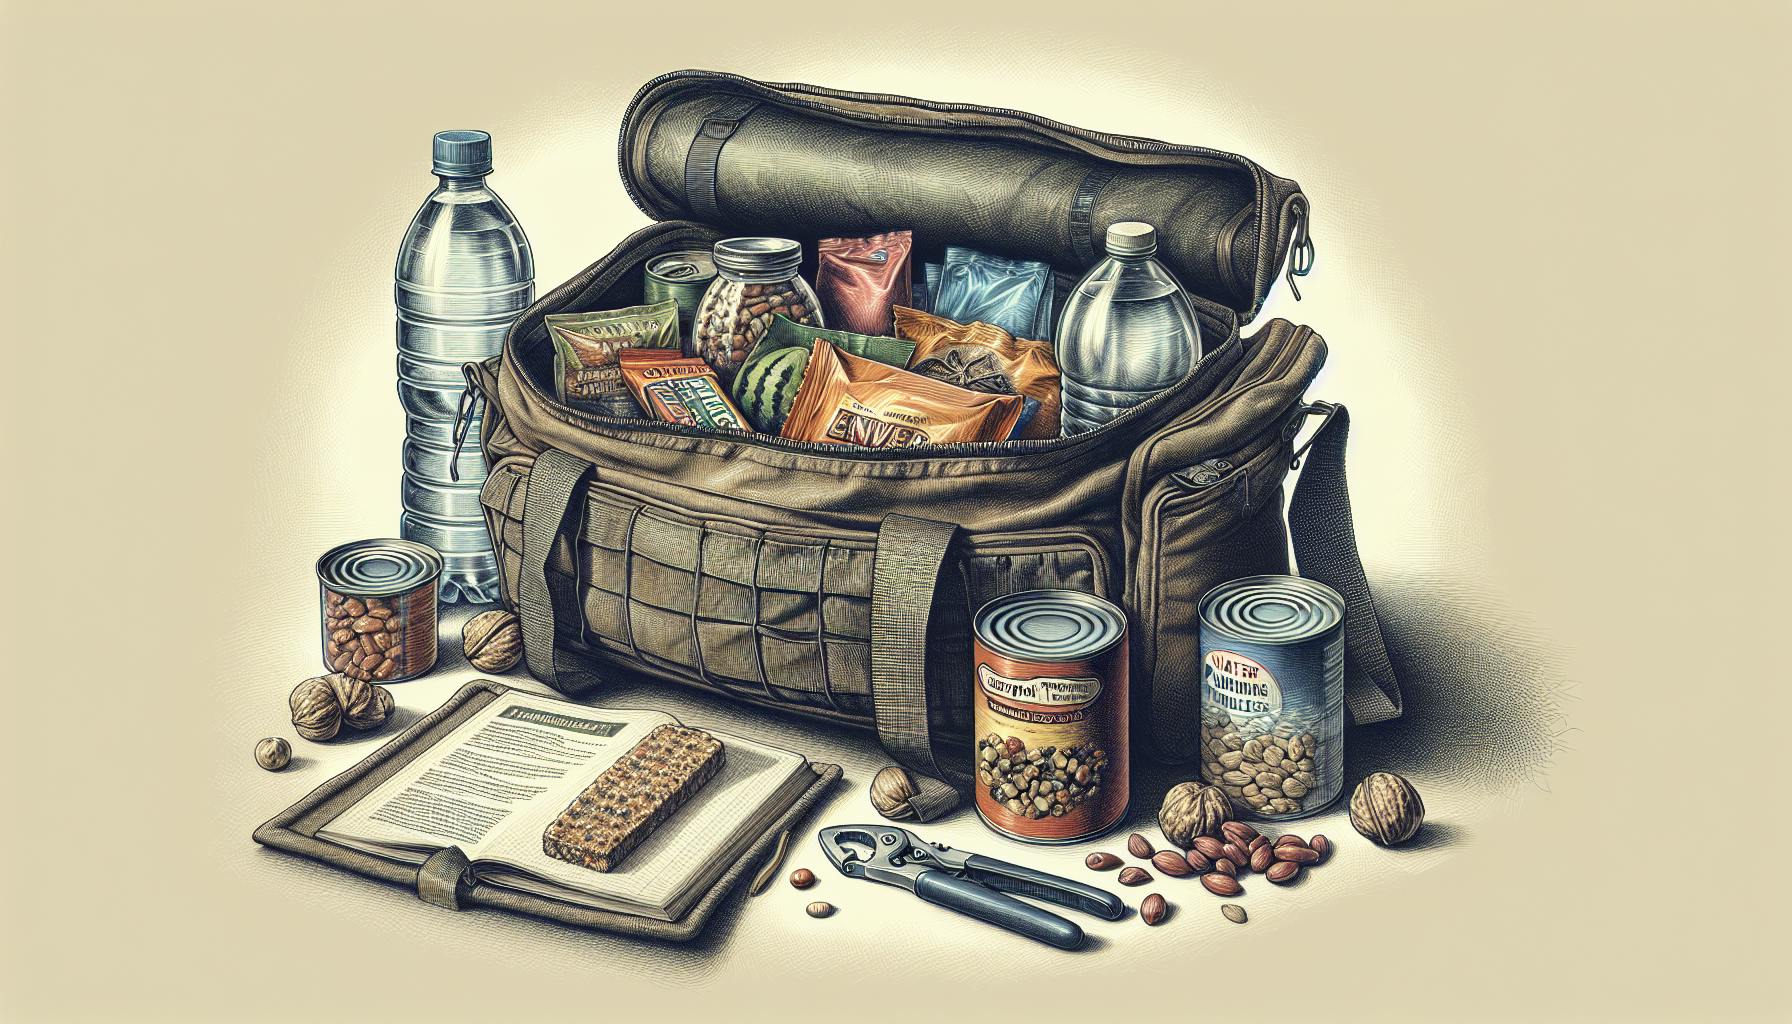
Understanding How Storage Conditions Impact Shelf Life
Having adequate emergency food storage is an essential part of preparedness, but simply amassing supplies is not enough. To get the most mileage from your food reserves, proper storage is critical for maintaining freshness and extending shelf life over the long term. Even foods marketed as having 20+ year lifespans can degrade faster than expected if stored incorrectly. This article will provide an in-depth overview of the key factors that can shorten shelf life and explore best practices for storing emergency food in ideal conditions to preserve nutrients and texture.
We'll start by examining how temperature, moisture, oxygen exposure, and light accelerate food degradation. Next, we'll share specific tips for leveraging cool, dry, and dark environments to slow these processes. Proper rotation and categorization of your supply is also vital, so we'll advise on implementing a First In, First Out system and designating separate storage areas for short and long shelf life items. Lastly, we'll highlight the importance of regular visual inspections to identify damage and consume foods before they pass their prime.
Follow these recommendations, and your emergency food will retain its quality, nutrients, and appeal for many years in storage. Let's dive in and uncover how to extend shelf life by finding the optimal places to store emergency food.
How Temperature, Moisture, Oxygen, and Light Impact Food Stability
Before detailing environmental recommendations, it's important to understand the science behind what shortens the shelf life of emergency food in the first place. Shelf life refers to the period that food maintains acceptable sensory qualities, nutrition, and textures. The four main factors that degrade foods and shorten shelf life include:
-
Temperature - Heat speeds up chemical reactions and microbial growth. Storing emergency food between 50°F and 70°F preserves nutrients and prevents spoilage. Temperatures above 75°F rapidly accelerate deterioration.
-
Moisture - Humidity above 60% leads to staling, caking, and mold development. Maintaining relative humidity under 40% enhances stability.
-
Light Exposure - UV rays and visible light instigate oxidation and vitamin degradation through photochemical reactions. Opaque, light-blocking containers prevent this.
-
Oxygen - Oxidation reactions with oxygen diminish nutritional quality over time. Vacuum sealing and oxygen absorbers help remove air to slow this process.
Under properly controlled conditions, certain emergency food types can retain acceptable taste and texture for multiple decades:
-
Freeze-dried foods - With minimal moisture and oxygen, these can last 25-30+ years before major quality loss.
-
Dehydrated fruits/vegetables - Typically 1-3 years until noticeable degradation when stored in low humidity.
-
MREs - Shelf-stable for 5-7+ years in cool, dark places before texture and flavor decline.
Always verify manufacturer guidelines for expected shelf life. But keep in mind, their estimates assume you are storing foods appropriately - check those expiration dates and conditions!
Leveraging Cool, Dry, Dark Storage Methods
Now that you understand the enemies of food stability, let's explore techniques to minimize their impact for maximum shelf life. The ideal environment for most emergency food storage is 50°F - 70°F with a relative humidity under 40%.
-
For canned goods, 50°F - 60°F prolongs integrity by limiting corrosion and seam failures from temperature fluctuations.
-
Excess heat above 75°F rapidly accelerates oxidation, vitamin loss, mold, and bacterial growth. Keep supplies in the coolest spot available.
-
Light leads to nutrient degradation through photochemical reactions. Use opaque, light-blocking bins or containers.
-
Basements, cellars, and insulated interior closets provide naturally stable temperatures and humidity. Consider investing in climate-controlled units for optimal regulation.
Take proactive steps to control temperature, moisture, oxygen, and light and your emergency food will maintain peak quality and freshness for years.
Implementing First In, First Out (FIFO) Inventory Rotation
In addition to storage conditions, rotating your emergency food supply is critical to prevent waste from expiration. Use a First In, First Out (FIFO) system to ensure older inventory gets used before newer:
-
When restocking, place new purchases behind existing inventory.
-
Clearly label all containers with contents and purchase/expiration dates.
-
During training, take oldest containers out first for practice usage.
-
At least biannually, evaluate dates and consume food nearing expiration.
-
Replace the items you utilized with fresh products in the back per FIFO.
Using FIFO rotation guarantees you are optimizing the value of your emergency food supply.
Storage Tips for Different Emergency Food Types
While most emergency food simply requires a cool, dry, dark space, some varieties have additional considerations:
-
Grains - Store in food-grade buckets with oxygen absorbers to prevent oxidation reactions.
-
Fats/oils - Refrigeration below 40°F dramatically slows rancidity and prolongs shelf life. Use opaque containers.
-
Dairy - Powdered milk keeps years when dry. Liquid milk requires continuous 40°F refrigeration and lasts under 2 weeks.
-
Freeze-dried foods - Mylar pouches with oxygen absorbers ensure multi-decade shelf life.
-
Canned goods - Avoid temperature fluctuations. Inspect for swelling or seam damage during yearly visual checks.
Evaluate each food's requirements and storage compatibility when organizing your inventory.
Top Storage Locations to Maximize Shelf Life
Now let's review some of the best storage locations for maintaining emergency food quality over the long haul:
Benefits of Basements and Cellars
-
Naturally cool, stable 50°F - 60°F temperatures due to underground insulation.
-
Consistent humidity under 50% with minimal fluctuations.
-
Thick concrete walls prevent light exposure.
-
Install dehumidifiers if needed to reduce moisture below 40%.
Advantages of Insulated Interior Closets
-
Sheltered from exterior temperature swings.
-
Avoid proximity to appliances generating heat or humidity.
-
Use opaque plastic bins to further limit light exposure.
Food-Grade Plastic Containers and Buckets
-
Airtight lids prevent oxygen exposure for longer shelf life.
-
Opaque material blocks light-induced oxidation.
-
Stackable for efficient space usage. Label contents and dates.
-
Durable and mobile for flexible organization.
Leveraging Refrigeration and Freezers
-
Refrigerators (36°F - 40°F) for short-term storage of perishables.
-
Freezers (0°F - 10°F) halt microbial growth for long-term storage.
-
Allows stocking refrigerated canned/bottled goods.
-
Use freezer bags and foil to prevent freezer burn.
Climate-Controlled Storage Units
-
Precisely maintain ideal 50°F - 70°F temperatures year-round.
-
Prevent fluctuations in humidity and temperature.
-
Commercial units or residential stand-alone dehumidifiers.
-
Justify the higher upfront cost by extending shelf life dramatically.
Evaluate options that naturally or artificially provide optimal stable conditions for your situation. This will ensure your emergency food stays fresh for the long term!
Inspecting, Categorizing, and Organizing Your Supply
Proper inventory management and inspection is also vital for maximizing shelf life. Follow these best practices:
-
Use First In, First Out loading and rotation.
-
Categorize foods by type such as canned goods, baking essentials, freeze-dried entrees, etc.
-
Label all containers by contents, purchase date, and expiration date.
-
Designate separate short-term "everyday" and long-term "deep" storage areas.
-
Perform annual visual inspections for damage, swelling cans, and expiration dates.
Maintaining a FIFO Inventory System
-
Load new purchases behind existing inventory per FIFO flow.
-
Pull oldest containers from the front for practice usage.
-
Eat foods approaching expiration dates first.
-
Maintain easy access to oldest emergency food.
Organizing Foods by Category
-
Group like items together for simplified inventorying.
-
Consider planned cooking usage for storage layout.
-
Place high turnover foods conveniently accessible.
-
Separate short and long shelf life items into designated zones.
Labeling Containers Effectively
-
Note contents, purchase date, expiration date clearly.
-
Use permanent marker or durable adhesive labels.
-
Include lot codes or pack dates if available.
-
Mark original location to simplify re-shelving after inspection.
Designating Everyday and Deep Storage Areas
-
Everyday area for high turnover items like perishables.
-
Deep storage for long shelf life grains, freeze-dried foods, etc.
-
Position everyday storage conveniently.
-
Place deep storage in most stable conditions possible.
Annual Visual Inspections
-
Check for swelling, leaks, punctures, damage.
-
Identify foods nearing expiration for consumption.
-
Discard and replace damaged or expired items.
-
Update labeling as needed.
Proper organization and inspection enables you to fully utilize your supply and maximize value.
Key Tips for Preserving Emergency Food Quality
To summarize, here are the key strategies for maintaining freshness and extending shelf life of emergency food:
-
Leverage cool (50°F - 70°F), dry (under 40% humidity) storage environments.
-
Consistently implement a First In, First Out inventory rotation system.
-
Categorize foods and designate separate everyday vs deep storage areas.
-
Perform annual inspections to identify damage and consume foods approaching expiration dates.
-
Utilize temperature and humidity-controlled storage options when possible.
Following proper emergency food storage techniques will keep your supply nutritious and appealing for consumption over many years. Implementing these best practices will maximize the return on your investment in emergency preparedness!


