When starting out in prepping, most will agree it can be overwhelming figuring out what to pack in an emergency prep kit.
Well, this guide breaks down the basics for assembling a beginner prepper pack, with the 10 essential items every starter kit needs.
You'll learn the core supplies that should go in an evacuation bag, how to get free emergency kits, and tips for customizing your pack over time as you advance in prepping.
Introduction to Prepping and Prepper Packs
Prepping refers to preparing for emergencies or disasters by gathering supplies and learning key skills. A prepper pack, sometimes called a bug-out bag, is a collection of gear and essential items meant to help someone survive for 72 hours or more in an emergency situation.
Assembling a well-stocked prepper pack is one of the first and most vital steps for those new to prepping. Having supplies and equipment close at hand can make all the difference in an unexpected crisis event.
Defining Prepping and Prepper Packs
Prepping is the practice of preparing for disasters, emergencies, or major disruptions to normal life. Preppers assemble supplies, gain skills, and make plans to deal with anything from natural disasters to economic collapse.
A prepper pack, or bug-out bag, is a portable kit filled with gear, tools, and provisions designed to help someone survive for several days away from home or vital infrastructure in an emergency. Prepper packs contain food, water, first aid items, shelter and sleeping equipment, navigation and communication devices, personal hygiene items, and other essentials.
The purpose of a prepper pack is to allow the bearer to remain self-reliant in an emergency until they can reach safety or help arrives. These packs are sometimes called 72-hour kits, get-home bags, or INCH (I’m Never Coming Home) bags.
The Importance of Prepper Supplies in Emergency Preparedness
Having reliable access to basic provisions like food, water, first aid, shelter, lighting, and communication methods during an emergency can literally make the difference between life and death.
Prepper packs allow individuals and families to cover their basic needs for days at a time, providing independence and resilience no matter the situation. Having prepper gear on hand aids response in any disaster - from earthquakes to floods to civil unrest.
While professional first responders may be overwhelmed in a large-scale event, those with their own prepper supplies have resources allowing them to take care of themselves until services can assist.
Types of Prepper Packs for Different Scenarios
There are a few main types of prepper packs tailored to specific emergency uses:
Bug Out Bags are designed for evacuation from a disaster area or societal breakdown. These contain 3+ days of essentials focused on survival, mobility, navigation, and shelter.
Get Home Bags are equipped to help someone traverse difficult conditions over 1-3 days to return home by foot from work, school, etc. in a crisis.
INCH (I'm Never Coming Home) Bags prepare someone to indefinitely leave home and set up an alternate long-term survival encampment. These contain more food, tools for establishing permanent shelter/utilities.
The supplies carried in a prepper pack depend greatly on the intended duration of use, distance/terrain that must covered, weather conditions expected, and types of threats likely faced. Beginners should start with a 72-hour emergency kit tailored for disasters common to their region.
What should I pack for a prepper?
Assembling a well-stocked prepper pack is an essential first step for disaster preparedness. Here are some basic supplies every beginner should include:
Water and Food
Having enough drinking water and non-perishable food is critical in an emergency situation where stores may be inaccessible.
- Pack at least one gallon of water per person per day for several days. Bottled water or portable water pouches work well.
- Stock up on foods with a long shelf-life that don't require refrigeration or cooking, like granola bars, canned goods, nuts, and dried fruits and vegetables.
Communication and Light
Being able to access weather alerts and signal for help if needed is vital.
- A battery-powered or hand crank AM/FM radio can tune into emergency broadcasts. Pair with a NOAA weather radio for direct weather alerts.
- Pack flashlights, glow sticks, and extra batteries. A whistle can be used to call for assistance if needed.
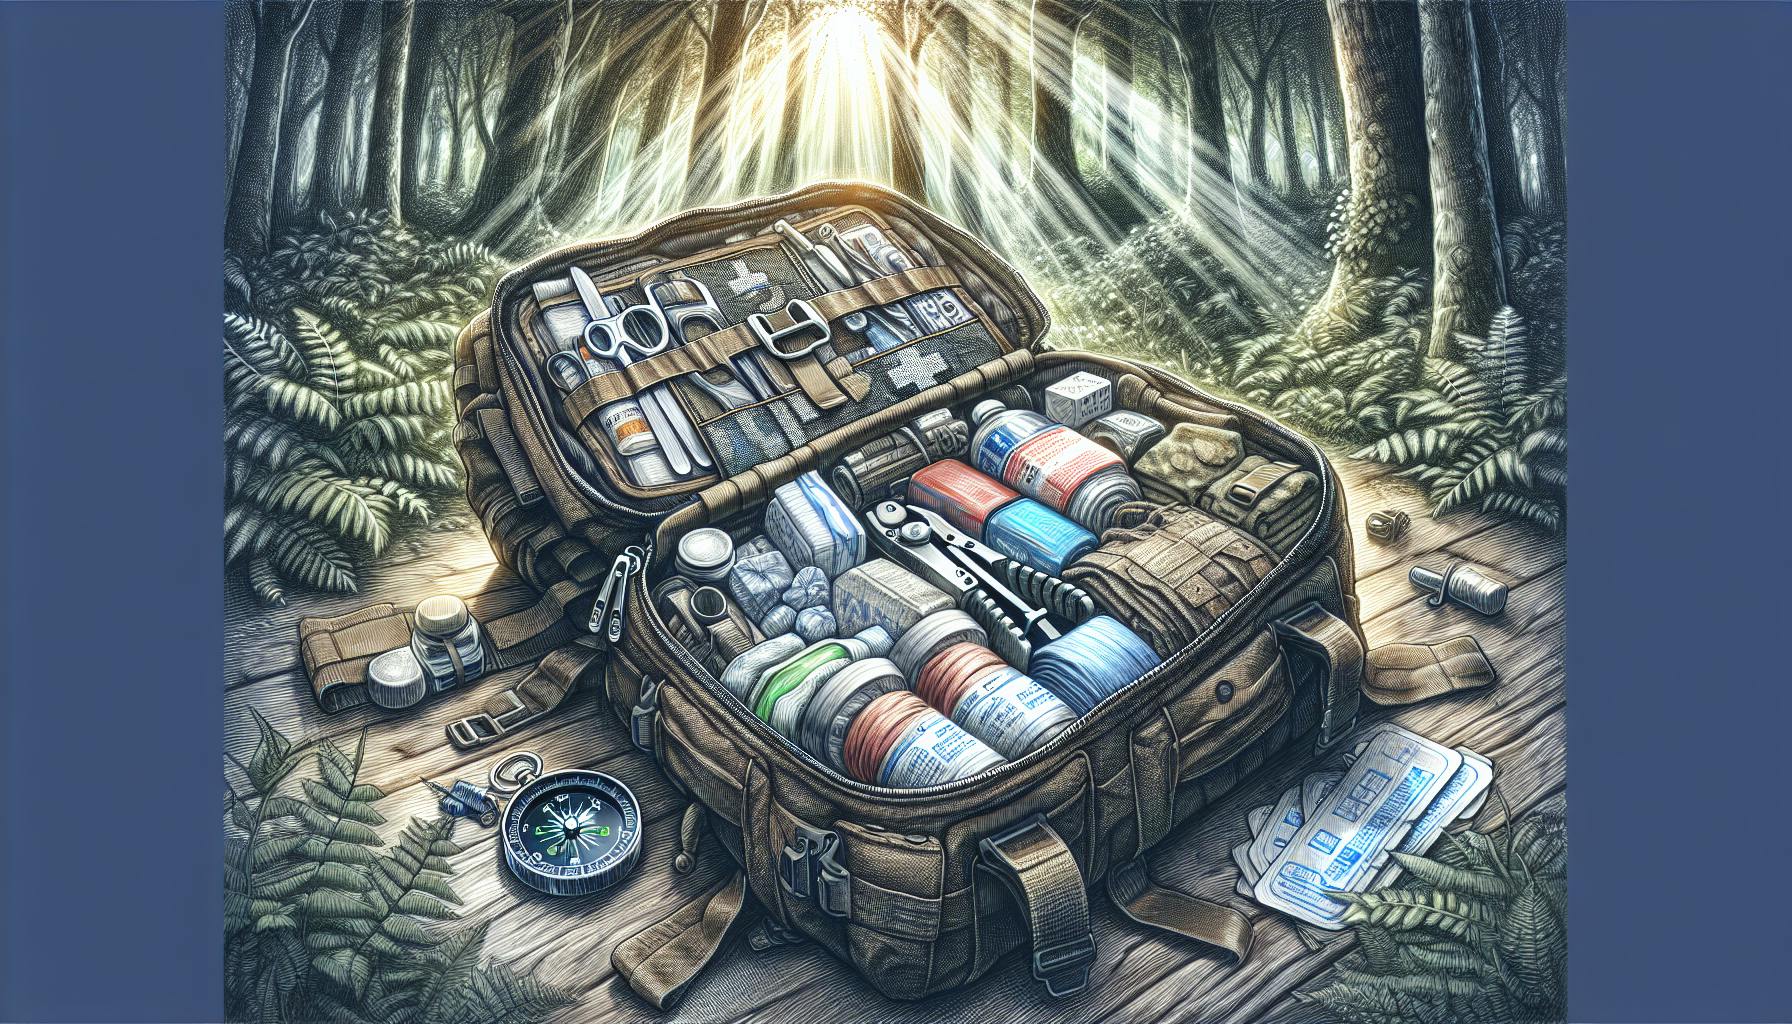
First Aid
Having basic medical supplies on hand allows you to treat minor injuries yourself until professional help is available.
- A complete first aid kit contains bandages, gauze, ointments, medications, sterile gloves, trauma supplies, etc. Customize it to suit your family's specific needs.
Start with these fundamental items, then build and customize your prepper pack over time. Gradually add tools, documents, clothing, hygiene items, and other essential gear. Maintaining your supplies and replenishing anything expired or used is also critical.
What are 10 items in a survival kit?
Here are 10 essential items to include in your emergency preparedness kit:
- Flashlight - A flashlight with extra batteries is crucial for lighting your way in the dark during a power outage. Consider a hand crank or solar powered flashlight as a backup.
- Whistle - A loud whistle can signal for help and scare away unwanted wildlife. Get one with a lanyard to wear around your neck.
- Dust mask - Dust masks protect against airborne particles after a disaster. Choose N95-rated masks for adequate filtration.
- Maps - Local maps help you navigate the area if you need to evacuate on foot. Laminated maps are durable.
- Manual can opener - Electric can openers won't work without power. A simple manual opener lets you access canned food.
- Emergency radio - Battery-powered or hand cranked radios provide news, emergency alerts, and entertainment after a disaster.
- Entertainment - Books, puzzles, and games keep children occupied if stuck at home for an extended time.
- First aid kit - A well-stocked first aid kit tends to injuries until professional medical treatment is available. Include bandages, medications, instruments, etc.
- Multi-tool - Compact multi-tools with pliers, screwdrivers, knife, and other functions are great for minor repairs and survival tasks.
- Emergency blankets - Lightweight foil blankets retain body heat to prevent hypothermia. Useful during all seasons.
How to get free emergency kit?
The Federal Emergency Management Agency (FEMA) offers a free Emergency Financial First Aid Kit that can help you start preparing for emergencies.
To get your free kit:
- Call FEMA at (800) 480-2520
- Request publication number P-1075
- Provide your mailing address
The kit includes a checklist of important financial documents, forms to track household belongings and contacts, and tips on financial preparedness.
Having these documents organized in advance will help you recover more quickly after a disaster strikes. The kit can be a useful first step as you develop your own custom emergency plan.
Be sure to make copies of completed forms and store them somewhere safe like a bank safe deposit box. You'll want to keep the originals secure but have copies handy to submit claims.
To build on the basics, consider adding the following prepper supplies to your emergency kit:
- Prepper gear and supplies like flashlights, batteries, first aid supplies
- Prepper food including canned goods, MREs, and emergency ration bars
- A prepper survival kit with shelter, fire starters, and multi-tools
The key is tailoring your kit to your family's unique needs. The FEMA financial first aid kit gives you a way to get started for free.
sbb-itb-b932644
What should I pack in my evacuation bag?
When preparing an evacuation bag or emergency kit, having the essential supplies on hand can make a critical difference in an unexpected crisis situation. Here are some of the most vital items to include:
Food and Water
- Pack at least a 3-day supply of non-perishable, high-protein foods that don't require refrigeration or preparation, such as granola bars, nuts, dried fruits, beef jerky, and canned goods. Don't forget a manual can opener.
- Have at least 1 gallon of water per person per day for at least 72 hours. Water pouches or bottles are convenient and portable options.
Tools and Gear
- Keep mobile devices charged with a portable charger or power bank. A hand crank or battery-powered radio will allow you to stay updated if power is lost.
- Pack flashlights with extra batteries so you have light if electricity fails. Waterproof matches, a pocket knife, duct tape, and a first aid kit are also essentials.
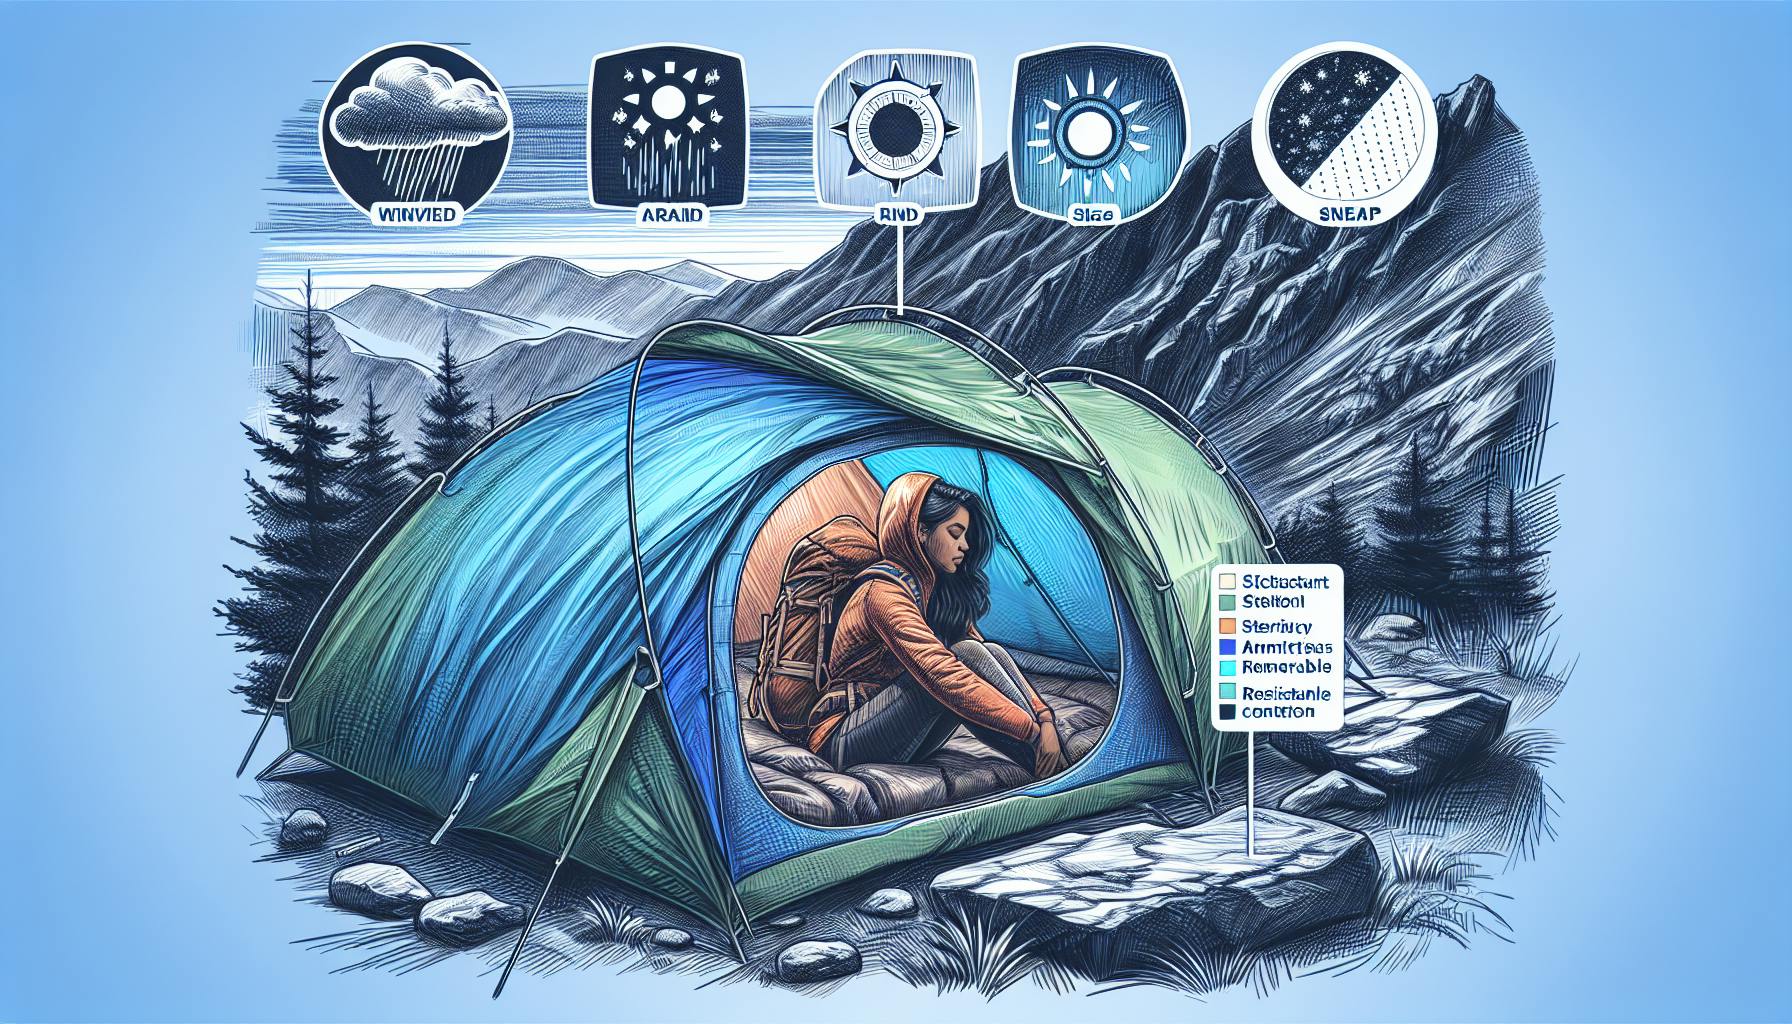
Clothing and Shelter
- Have weather-appropriate clothing layers, gloves, sturdy shoes, blankets, towels, and even emergency tents or tarps in case you need to evacuate quickly and shelter outside.
Tailor your evacuation bag to your personal needs, but these basics will help you handle the critical first 72 hours of an emergency situation where access to food, water, power and shelter may be unstable or unavailable. Prepare now so you have the vital supplies on hand when they are needed most.
Assembling Your First Prepper Survival Kit
Choosing Your Pack: The Foundation of Prepper Gear
When choosing a pack for your prepper supplies, you'll want something durable, lightweight, and with enough capacity to hold the essentials. Look for backpacks made of water-resistant materials like nylon or polyester, with multiple exterior pockets for organization. For portability, aim for 25-50 liters of capacity. Consider features like waist straps and padded backing for comfort during transport. Ultimately your pack should keep your prepper gear protected and accessible when you need it most.
Essential Prepper Gear and Tools for Survival
Every prepper pack should contain basic tools for emergency scenarios:
- Flashlights: Choose LED flashlights that are waterproof and shock-resistant. Always pack extra batteries.
- Knives: A good quality folding knife and multi-tool are prepper essentials for cutting, prying, and self-defense if needed.
- Fire Starters: Waterproof matches, flint rods, and tinder help start campfires for cooking, warmth, and signaling.
- Radios: Crank or battery-powered radios provide weather updates, emergency broadcasts, and communication.
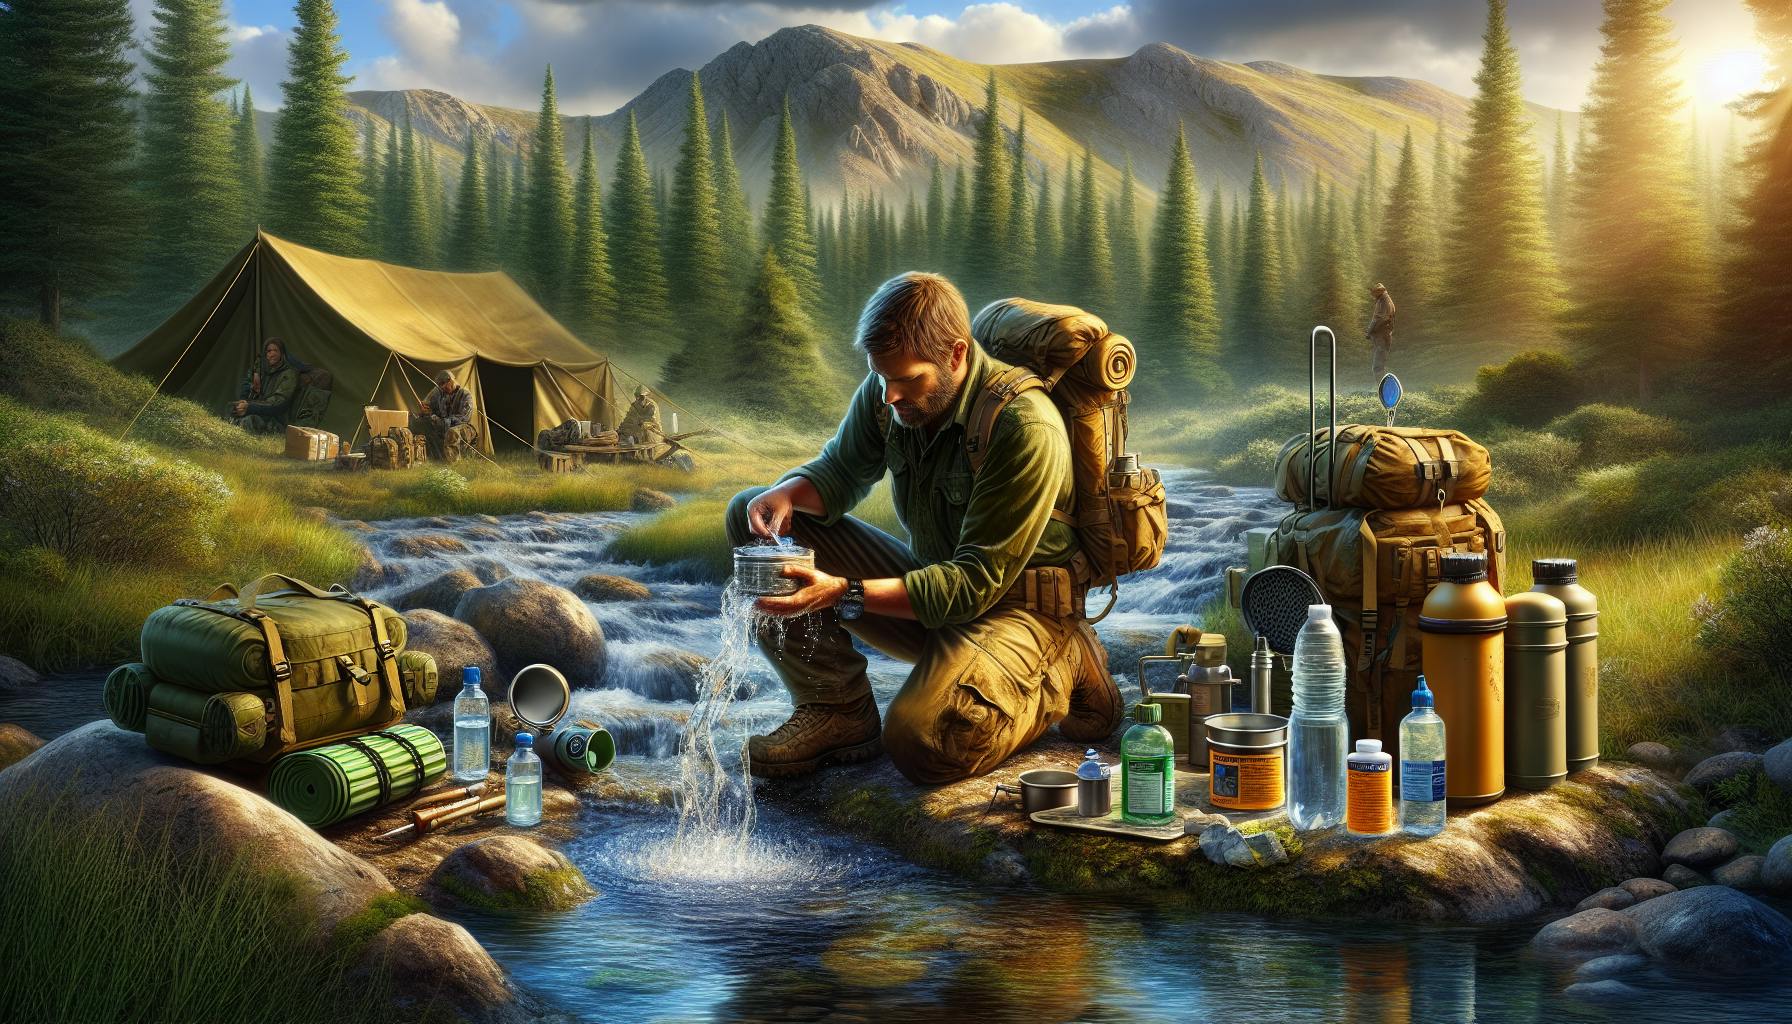
- Water Filters: Portable filters like LifeStraws allow you to drink from questionable water sources if needed.
- First Aid: At minimum, pack bandages, gauze, antibiotic cream, safety pins, and basic medications like ibuprofen.
Prepper Food: Stocking Up on Sustenance
When building your food stockpile, focus on nutritious, non-perishable items with long shelf lives. Some top choices are:
- Canned goods like beans, vegetables, and soups
- Dried foods like grains, pasta, dried fruit and nuts
- Emergency Food Ration Bars for calories and nutrients
- MREs (Meals Ready to Eat) with 5+ year shelf lives
Aim for at least a 3 month supply, stored in a cool, dark place. Rotate stock by expiration date to keep it fresh.
Securing Water: Emergency Water Pouches and Purification
In a disaster scenario, water sources could become contaminated or unavailable. Prep by stocking:
- Bottled water
- Emergency Water Pouches for Disaster or Survival
- Water purification methods like filters, tablets, or bleach
Store at least 1 gallon per person for 3 days minimum. Consider long-term water storage containers too.
First Aid and Hygiene Essentials for Preppers
Maintaining health and sanitation during an emergency is critical. Assemble a first aid and hygiene kit with:
- Adhesive bandages
- Gauze pads and roller bandages
- Antibiotic and antiseptic ointments
- Medications like ibuprofen, antihistamines
- Safety pins, scissors, tweezers
- Bar soap, toothbrush and paste
- Feminine hygiene products
- Hand sanitizer, toilet paper
Refresh perishable medical supplies annually. Having basic care and sanitation items can provide comfort and prevent illness when SHTF.
Customizing and Organizing Your Prepper Pack
Adapting Your Pack to Your Personal Skills and Environment
When assembling your starter prepper pack, it's important to tailor the contents to your specific needs and situation. Consider your existing knowledge and skills - if you have experience camping or hunting, you may require less basic gear. Analyze potential risks in your geographical area that may require specialized supplies. For example, those in flood zones should prepare for water purification needs.
Evaluate your pack throughout the year as seasons change. In winter, focus on items like hand warmers and blankets. In summer, carry more water and sun protection. Create a checklist with columns for each season to evolve your pack as needs shift.
Specialized Prepper Gear and Supplies for Advanced Preparation
Once you've assembled a basic prepper pack, consider supplemental items for your personal needs:
- Self-Defense - Pepper spray, taser, firearm + ammo, knife, tactical pen
- Hunting - Bow & arrows, snares, camouflage clothing, knife, multi-tool
- Camping - Tent, sleeping bag, mess kit, camp stove, lantern
- Communications - Emergency radio, walkie-talkies, signal whistle, flares
Add gear gradually over time to avoid overspending upfront. Prioritize items that serve multiple purposes like a knife that can be used for hunting, self-defense and survival needs.
Effective Storage and Organization Systems for Prepper Packs
Proper storage and organization ensures quick access to your prepper pack contents when SHTF. Some tips:
- Use clear, durable plastic bins to categorize items (food, water, tools, medical)
- Sort food by type (canned goods, MREs, freeze-dried items)
- Attach gear pouches to the exterior of your pack for accessibility
- Label everything clearly so items can be found rapidly
- Take inventory every 6 months and replace expired items
A disorganized pack leads to wasted time when rapid response is critical.
Incorporating Emergency Food Ration Bars and Long-Term Supplies
Emergency food ration bars like Emergency Food Ration Bars are an important addition, providing concentrated calories and nutrition. Integrate a variety, including bars, MREs, and freeze-dried meals.
You'll also need to think long-term. Items like Emergency Water Pouches for Disaster or Survival store for 5+ years. Build up at least a 90 day supply of food/water through continual accumulation. Keep an eye out for deals on long shelf-life items. The goal is increasing resilience over time, not panic buying everything immediately.
Slow and steady preparation is key to avoiding burnout. Customize and organize your pack around your situation, and consistently expand supplies as your budget allows.
Maintaining and Expanding Your Prepper Pack Over Time
Routine Checks and Replenishment of Prepper Supplies
It is important to routinely check your prepper supplies and replenish anything that may be expired or running low. Here are some tips:
- Once a month, take out your prepper pack and do an inventory check. Make note of anything that is expired or close to expiration.
- Check batteries in flashlights, radios, etc. to ensure they still hold a charge. Replace as needed.
- Check any stored food or medicine for expiration dates. Replace anything that will expire in the next 6 months.
- Take stock of your water pouches and replenish your supply if it has gotten low. Aim to have at least 1 gallon per person for a 72 hour period.
- Test any emergency gear like radios, fire starters, flashlights to confirm functionality. Replace batteries or gear as required.
Expanding Your Prepper Gear for Long-Term Survival
As you advance your prepping knowledge, consider expanding your supplies to prepare for longer term scenarios:
- Build a 1 week prepper pack with additional food, water, first aid supplies. Store in an easy to grab bag or bin.
- Expand your food supplies to quick but nutritious items like protein bars, canned goods, MREs.
- Add a compact stove, cookset, utensils to heat food and boil water.
- Include cash, an extra phone charger, radio, and other essential electronics.
Engaging with the Prepping Community for Shared Knowledge
Connect with the broader prepping community to continue learning:
- Find and join prepping forums and groups to exchange ideas and tips.
- Consider taking first aid, survival skills, or self defense courses.
- Attend prepper conventions or events when possible. Meet peers and experts.
Upgrading to a Comprehensive Prepper Survival Kit
Over time, upgrade to a robust survival kit:
- Graduate to a bug out bag optimized for your climate and terrain. Customize to your needs.
- Include compact tools like multi-tools, pocket knives, paracord, duct tape, work gloves.
- Pack weather appropriate clothes, shoes, sleeping bag, tent or tarp shelter.
- Add compact fishing, trapping and hunting tools to gather food if needed.
Conclusion: Embracing Preparedness with Your Starter Prepper Pack
Assembling a starter prepper pack is an important first step towards being prepared for emergencies. By having basic supplies and gear ready, you can better handle unexpected situations.
Here are some key takeaways on putting together your beginner prepper pack:
- Start small - Focus first on essentials like food, water, first aid. Build up over time as budget allows.
- Quality over quantity - Invest in durable, reliable items even if fewer.
- Customize for your needs - Consider factors like climate, health needs, family size.
- Store properly - Use appropriate containers to protect contents and extend shelf life.
- Rotate stock - Use and replace items before they expire.
- Learn essential skills - Take classes on survival tactics, first aid, self defense.
- Connect with community - Join local prepper groups to exchange ideas and support.
Taking simple steps now to prepare can pay off tremendously later. Having reliable basic supplies and some know-how helps reduce panic during crises.
Embrace preparedness as a sensible lifestyle choice. Start your prepper pack today for greater peace of mind!