Introduction
Building an emergency food storage supply is one of the most important ways preppers can gain peace of mind and prepare for any situation. Having at least 2-4 weeks of shelf-stable foods on hand provides a critical buffer whether a disaster is personal, local, regional, or even nationwide in scope. According to FEMA, every household should aim to have at least 2 weeks of non-perishable foods in their emergency stockpile. With some planning and creativity, preppers can stock up on a robust food supply without breaking the bank. This article covers budget-friendly strategies for putting together a well-rounded preppers food storage checklist, including taking stock of current supplies, bulk buying staples, extending shelf life through DIY food preservation, and ideas for affordably outfitting your prepper's pantry.
Taking Inventory of Current Supplies
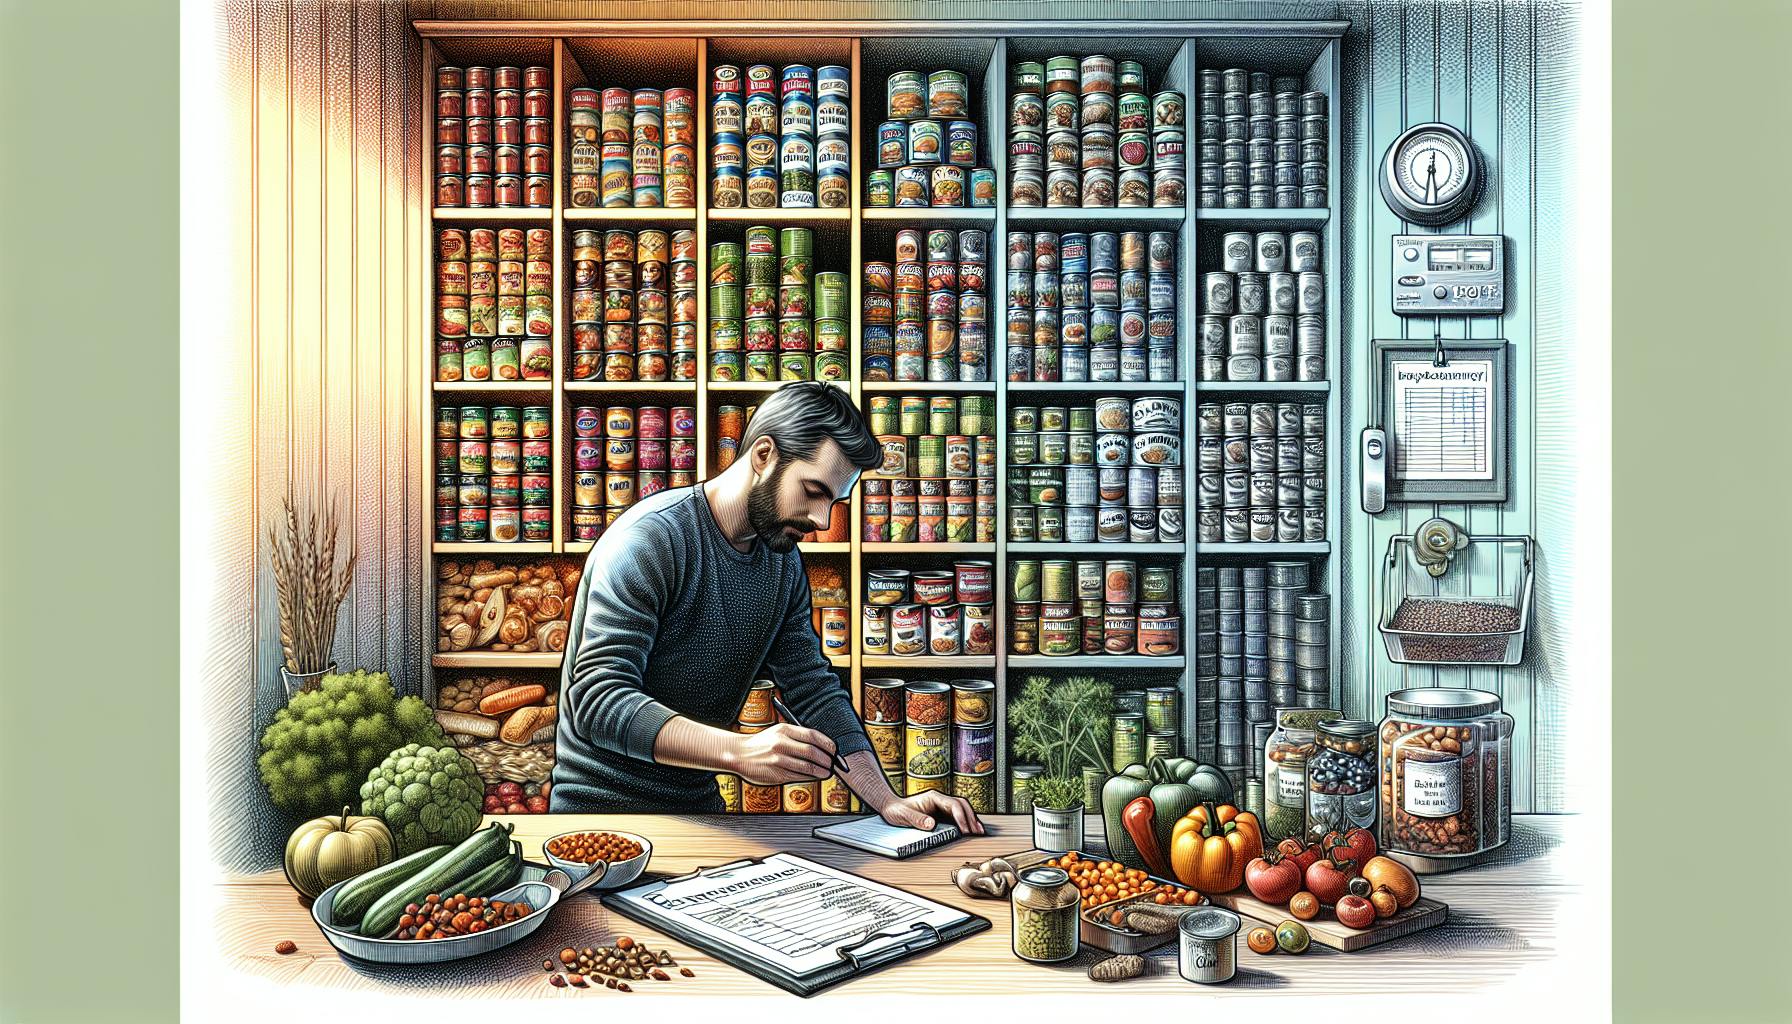
The first step in putting together your preppers food storage checklist is taking a comprehensive inventory of what non-perishable and longer-shelf life foods you already have on hand. Thoroughly go through your kitchen pantry, cupboards, and anywhere else food may be stored and organize it into categories like grains, canned goods, baking ingredients, snacks, etc. Pay attention to expiration dates and try to use up anything that will be expiring soon. Keep an organized list of all your existing food storage supplies for easy reference. The notes app on your phone or a spreadsheet on your computer are easy ways to catalog the current inventory in your prepper's pantry.
Planning Out the Prepper's Pantry
Once you know what you already have in stock, make a list of the key staples and basics you want to fill out your prepper’s pantry. Focus on nutrient-dense, non-perishable foods like rice, beans, oats, canned vegetables and fruits, peanut butter, oils, nuts and seeds, broths, and more. Figure out about how many calories your family needs per day and stock up on foods accordingly. Experts recommend having at least a 2 week supply of food storage as a minimum, but ideally building up to 30-90 days of reserves. Store foods you actually enjoy eating to avoid waste when rotating your stock.
Budget-Friendly Shopping Tips
When it's time to start purchasing foods to build up your prepper’s pantry, look for sales, deals, and coupons on shelf-stable items. Grocery stores like Kroger and Safeway have apps with digital coupons and personalized deals you can load right to your store loyalty card. Stock up on extra canned goods, beans, rice, pasta, and other non-perishables when they are marked down or on sale. Warehouse clubs like Costco, Sam's Club, and BJ's offer significant savings when buying bulk sizes and multi-packs of staple foods perfect for emergency preparedness. Amazon Subscribe & Save allows you to get automatic deliveries of pantry essentials like grains, canned goods, and shelf-stable proteins at discounted prices. Joining loyalty programs at stores you frequent can provide additional exclusive discounts. Consider splitting large bulk purchases with friends or family members to save even more.
Creative Ways to Save
Beyond sales and bulk deals, there are plenty of creative ways preppers can stock up their food reserves while sticking to a budget. Planting a vegetable garden provides a renewable source of fresh produce year-round that can also be preserved at home with canning, dehydrating, and freezing for long term storage. Joining a food co-op or CSA (community supported agriculture) program provides additional access to healthy foods at wholesale prices. Many of the bulk staples that prepper’s pantries are stocked with can be purchased for less when ordering large quantities online from sites like Honeyville Grain or Emergency Essentials. Repackaging these into smaller vacuum-sealed bags at home can extend their shelf life even further.
Building a Layered Food Supply
The ideal prepper's pantry utilizes a layered approach when it comes to food reserves. Have a short term supply of non-perishable snacks and meal items that can be replenished as used for day-to-day purposes. Build up a medium term supply with a 2-4 week stock of staple foods like rice, beans, canned vegetables, broths, and other basics. Then create a longer-term bulk reserve of wheat, grains, legumes, fats, and oils that can sustain your family for 30-90 days or more. Using a first-in, first-out (FIFO) inventory system will ensure nothing gets wasted.
Stocking the Prepper's Pantry on a Budget
When building up a well-rounded food storage supply, preppers should focus on the most nutrient-dense, budget-friendly staples to get the most bang for their buck. Many of these shelf-stable basics can pull double duty, as they work well for both everyday cooking and emergencies. Buying items like grains, legumes, canned fish, broths, oils, and more in bulk maximizes savings. Here are some of the most cost-effective foods to stockpile.
Whole Grains
Whole grains like rice, oats, quinoa, millet, and barley provide essential carbohydrates and fiber. They have a long shelf life when stored properly in airtight containers in a cool, dry place. Buying large bags at big box stores like Costco or online retailers like Honeyville can save significantly per pound versus grocery store prices. Repackage your bulk grains at home into smaller vacuum-sealed bags to extend freshness.
Beans and Lentils
As a prepper’s pantry staple, beans and lentils offer plant-based protein and fiber at a budget-friendly price point. Focus on versatile varieties like pinto beans, black beans, kidney beans, split peas, chickpeas and more. Purchase them dry in bulk and portion out into vacuum bags or storage containers for grab and go convenience. Beans and lentils can be used in tacos, chili, soups, rice bowls, and so much more.
Canned Fish and Meat
While fresh meat and fish are ideal, their canned counterparts provide ample protein when fresh options aren’t viable. Stock up on tuna, salmon, chicken, and other canned meats when they go on sale. Look for pop-top lids and vacuum seal the opened cans for maximum freshness. Canned meats can easily be used in pasta dishes, soups, salads, and rice bowls. Popular brands like Chicken of the Sea, Starkist, and Hormel provide quality canned proteins.
Broths and Sauces
Broths, tomato sauce, soy sauce, vinegar, hot sauce and other bottled sauces are inexpensive ways to add layers of flavor to simple dishes. Canned or tetra-packed broth is essential for cooking grains, beans, and making soups and stews. Bottled sauces like soy sauce also provide needed sodium. Look for lower sodium and no added sugar varieties when possible.
Fats and Oils
Healthy fats are an important part of a balanced prepper’s pantry and provide essential calories and nutrients. Focus on shelf-stable oils like olive, coconut, and avocado oil. Nuts, seeds, nut butters, and canned fish also provide beneficial fats. Store oils away from heat and light to prevent rancidity. Powdered oils like OvaEasy have even longer shelf lives.
Home Food Preservation Methods
Rather than relying solely on purchased food storage items, preppers can also extend their reserves by utilizing home food preservation techniques like water bath canning, pressure canning, dehydrating, freezing, fermenting, and root cellaring. Preserving fresh produce at its seasonal peak retains more nutrients and flavor and avoids preservatives or additives. Ensure you follow safe, tested guidelines and recipes when canning, fermenting, or dehydrating food at home. Some essential equipment for food preservation includes canning jars and lids, a pressure canner or large pot with rack, a food dehydrator, vacuum sealer, fermenting weights, etc.
Canning
Canning allows long term room temperature storage of fruits, vegetables, soups, broths, meats, and seafood without preservatives. The boiling water bath method is suitable for high-acid foods like fruits. Low acid vegetables and meats require a pressure canner to achieve a higher temperature of 240-250°F to kill bacteria. Always use tested recipes and follow proper canning procedures to avoid contamination or spoilage.
Dehydrating
Dehydrating removes moisture from foods to prevent spoilage, reducing produce like fruits, vegetables, and herbs to lightweight, shelf-stable ingredients perfect for a prepper’s pantry. Using a food dehydrator or oven on very low temperature between 95-155°F, the dried food’s nutrients and flavors become concentrated. Pre-treat items to be dried with lemon juice, honey, or sodium sulfite to retain color and antioxidants.
Freezing
Freezing preserves garden produce, baked goods, meats, casseroles, and more for several months with minimal loss of quality. Blanch vegetables before freezing to deactivate enzymes. Allow foods to fully cool before packaging in airtight containers or freezer bags. Avoid freezer burn by minimizing air exposure. Label everything with contents and date. An upright freezer or chest freezer are best for long term storage.
Fermenting
The natural process of fermentation preserves food by producing beneficial bacteria that inhibit dangerous pathogens. Fermented items like kimchi, sauerkraut, kefir, yogurt, pickles, and kombucha remain edible for months to years. Fermenting also boosts nutrients and healthy probiotics. Use starter cultures or whey to kickstart the fermentation process.
Root Cellaring
For those with the space, a root cellar provides ideal cool, humid conditions for storing produce like potatoes, carrots, garlic, onions, squash, and apples over the fall and winter months. Keep foods in vented boxes layered with straw, sawdust, or crumpled newspaper in a dark basement or cellar that maintains temperatures between 32-40°F.
Creative Solutions for Storing Prepper Supplies
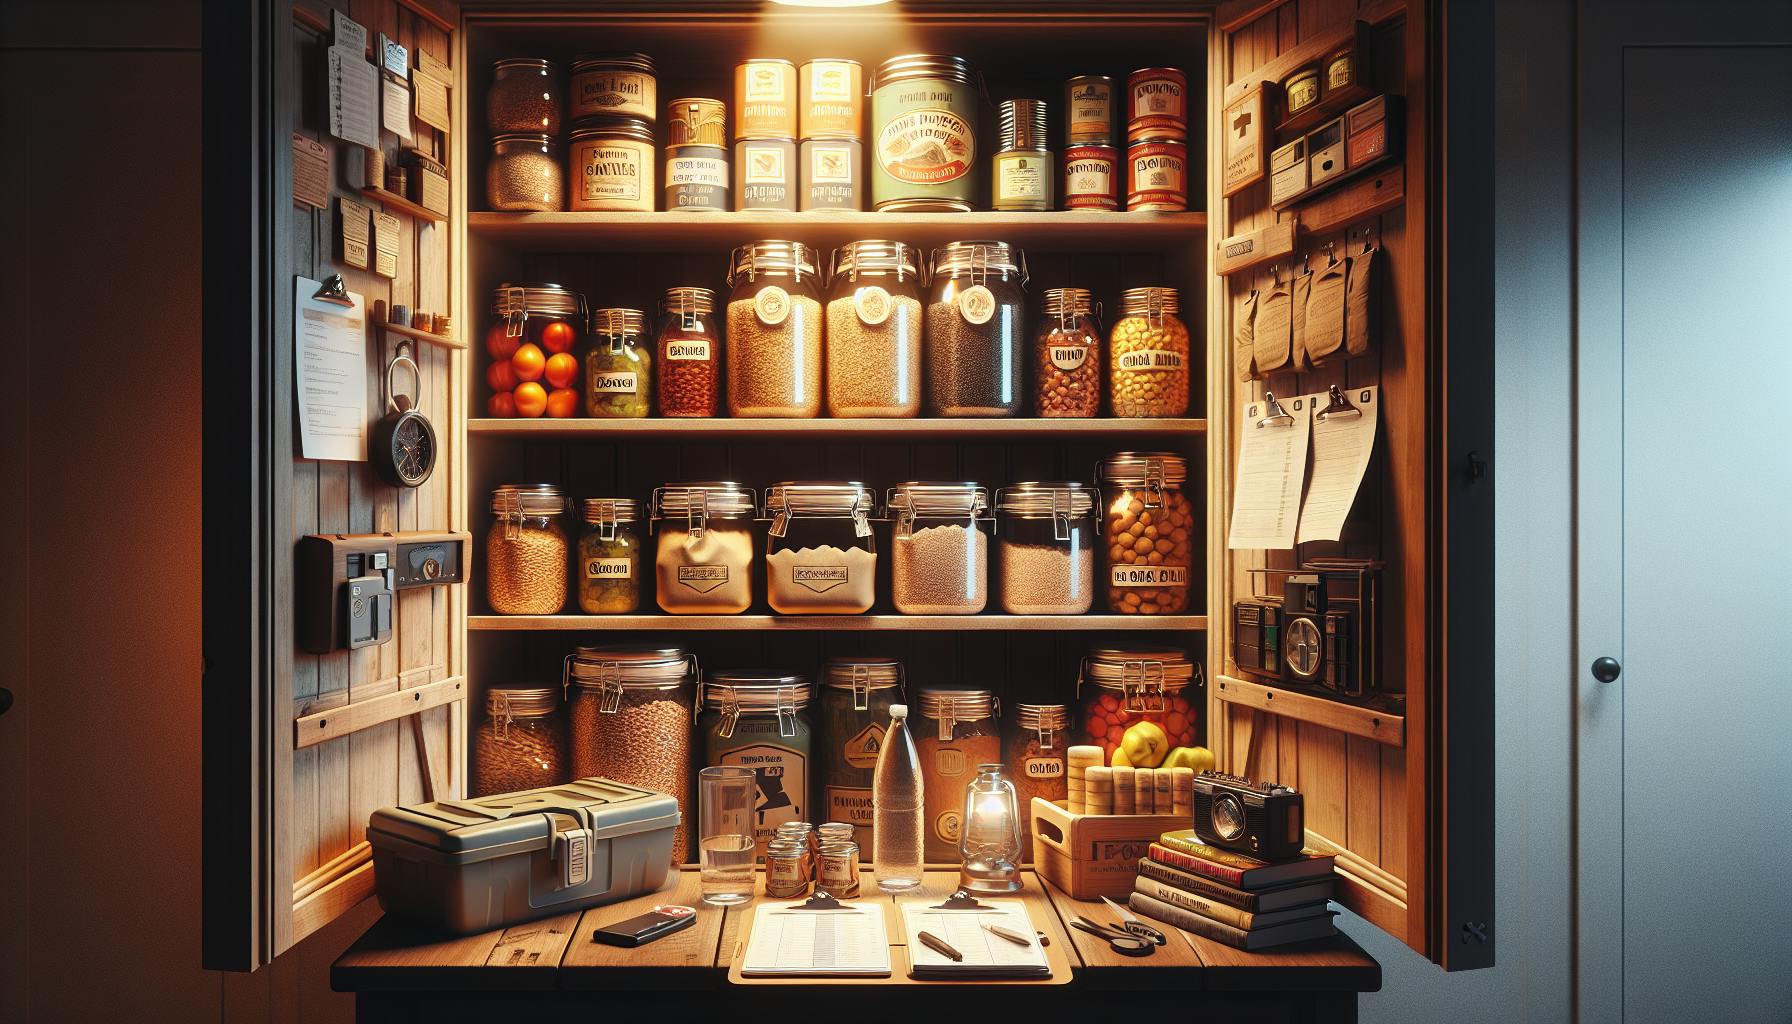
Building up a stockpile of emergency food supplies requires being resourceful when it comes to storage space. Solutions like under bed storage, freestanding pantries, shelving units, and repurposed furniture can all help maximize every inch of available storage real estate. Properly stored foods will last significantly longer, so consolidate supplies into a cool, dry, dark space for best results.
Plastic Storage Totes
Sturdy plastic storage totes can be labeled and stacked to hold different food categories like baking ingredients, canned goods, beans, rice, etc. Uniform sized bins allow for stable stacking. Look for waterproof totes with tight sealing lids to protect contents. Bins designed to slide easily under beds or onto shelves are very space efficient. The Sterilite and Rubbermaid brands offer quality storage totes.
Shelving Units
Installing floor-to-ceiling shelving creates plenty of vertical storage space. Sturdy metal utility shelves are ideal for heavy #10 cans or 5-gallon buckets of staples like grains and beans. Make sure to anchor shelving into wall studs for stability. Adjustable shelves can be reconfigured to accommodate items of various heights. Brands like Seville Classics make sturdy shelving perfect for the prepper's pantry.
Freestanding Pantries
Consolidate all your emergency food supplies into one organized, dedicated storage unit with a freestanding pantry. Look for moisture-proof models with deep cabinets and adjustable shelving to maximize capacity. Place your pantry in a cool, dry basement or cellar location for ideal storage conditions. A locking door provides security. Companies like Easy Track and Rev-A-Shelf sell ready-made freestanding pantries.
Underbed Storage
Make use of the frequently under-utilized space under beds by storing plastic bins filled with food storage items. Label bins clearly for easy identification of contents. Bed risers allow you to stack higher bins in the under-bed void. Take advantage of this readily accessible, unused real estate in your home. Iris and Sterilite make storage bins specifically designed to slide under most standard bed frames.
Repurposed Furniture
Give used furniture new life as a prepper’s pantry or shelving unit. An old armoire, dresser, or set of cabinets fitted with new shelves creates characterful storage for organizing emergency food supplies. Make sure to properly clean and seal unfinished wood before use. Plastic bins can contain loose staples like rice and beans. Check thrift stores, garage sales, Facebook Marketplace, or Craigslist for secondhand finds.
Putting It All Together: Sample 2 Week Prepper Meal Plan
To make your emergency food reserves feel more tangible, it helps to plan out actual meals and snacks you can make with your prepper pantry staples. Here is a sample 14 day meal plan utilizing only shelf-stable ingredients that can be adapted based on your family's unique needs and tastes.
Breakfasts
- Oatmeal with dried fruit and nuts
- Whole grain cereal or granola with shelf-stable milk
- Powdered whole eggs with pre-cooked bacon or sausage
- Pancakes from mix with maple syrup or honey
- Breakfast sandwich with pre-cooked meat and shelf-stable cheese
- Yogurt with homemade granola
Lunches
- Rice bowls with canned chicken/fish and veggies
- Bean or lentil soup
- Canned tuna/chicken salad sandwich or wrap
- Chili with corn bread
- Pasta with canned sauce and garlic bread
- Baked beans with hot dogs
Dinners
- Red beans and rice
- Lentil curry with naan bread
- Canned chicken tacos with beans, salsa and tortillas
- Pizza with canned sauce, shelf-stable pepperoni/sausage and crust mix
- Canned beef stew over biscuit mix dumplings
- Chili mac with canned chili and macaroni
Snacks
- Trail mix with nuts, seeds, dried fruit
- Protein or granola bars
- Peanut butter crackers
- Popcorn
- Shelf-stable nutrition shakes
- Dried veggie chips
- Canned fruit
Regularly Testing and Rotating Your Stockpile
As you build up your emergency food reserves, it's essential to implement a regular system for testing and rotating your stockpile to maximize freshness and avoid waste. Here are some best practices for keeping your prepper's pantry well-managed:
-
Institute a first-in, first-out (FIFO) rotation system where older products get used first. Place new items in the back and move older ones to the front.
-
Date all containers with a permanent marker so you know what needs to be used soonest.
-
Set reminders to test older items, repackaging if still good or using up if quality is declining.
-
Cycle through and replace items as you use them in regular meals to continually refresh your stock.
-
Rotate through your entire supply at least once a year, donating anything close to expiration.
-
Store your emergency reserves separately from daily kitchen supplies to prevent accidental use.
-
Keep an updated inventory list and purchase replacements well ahead of expiration dates.
With some organization and discipline, you can avoid waste while enjoying the peace of mind that comes from being prepared with a robust emergency food supply. Use the tips in this article as a blueprint for affordably stocking your prepper's pantry and keeping it well-maintained for any situation.