When caught in an emergency situation without shelter, a survival poncho can be an invaluable asset for creating basic cover.
Transforming a simple poncho into life-saving shelter is easier than it seems with some basic techniques and materials.
In this guide, you'll learn step-by-step how to configure a basic A-frame and plow point shelter using your survival poncho and other common items. We'll also explore more advanced techniques for enhancing protection in extreme weather.
Introduction
A survival poncho can be an extremely useful piece of emergency gear. Weighing only a few ounces and packing down small enough to fit in your pocket or bag, a poncho provides versatile protection from wind, rain, and sun. In a pinch, it can also be configured into a makeshift shelter.
This article will discuss the benefits of a survival poncho for shelter, factors to consider when choosing one, and provide step-by-step instructions on how to set up different poncho shelter configurations. The goal is to demonstrate easy, affordable, and practical solutions for emergency shelter using gear you already carry.
What is a Survival Poncho?
A survival poncho is a lightweight, waterproof outer layer designed to protect against the elements. Unlike regular ponchos, survival ponchos are made from durable ripstop fabrics and often have grommeted holes to allow shelter configurations. Many also have a metallic coating on one side to reflect body heat.
Survival ponchos pack extremely small - some can fit into an included pouch the size of a soda can. This makes them an ideal emergency item to stash in a bug out bag, glove box, or backpack.
Benefits of a Poncho Shelter
Using a survival poncho as an improvised shelter provides many advantages:
-
Portability - Weighing only a few ounces, a survival poncho takes up little space when packed but provides ample coverage when deployed.
-
Affordability - Purpose-built survival ponchos cost between $10-30, making them an economical addition to any emergency kit.
-
Ease of Setup - With a bit of cordage and trees or hiking poles, a basic poncho shelter can be erected in minutes.
Choosing the Best Survival Poncho for Your Needs
Important features to evaluate when selecting a survival poncho include:
-
Materials - Silnylon and ripstop nylon are lightweight yet durable materials. Mylar versions reflect heat extremely well.
-
Waterproofness - Sealed seams are critical to keep rain and wind out of the shelter interior.
-
Size - Larger ponchos around 60"x90" provide more coverage and space inside the shelter.
-
Grommets/Tie-outs - Reinforced holes allow cordage to be tied for shelter support.
Materials and Tools Required
To set up a basic survival poncho shelter, you will need the following materials:
Selecting a Heat Reflective Poncho
When selecting a poncho to use as a shelter, look for one made of heat reflective material. This will help retain your body heat in cold weather conditions. Key features to look for include:
- Aluminum coating to reflect heat back towards your body
- Durable, ripstop fabric exterior to stand up to wind and weather
- Reinforced grommets for securing tie points
- Drawcord hood to seal in warmth around your head
Paracord/Rope
Paracord or other rope is critical for adding structure to your shelter and providing tie points to anchor it securely to the ground or other objects. At least 20 feet of paracord is recommended.
Stakes
Stakes help secure the edges of your shelter to the ground, preventing it from blowing away in windy conditions. You can use dedicated tent stakes, branches, rocks or other heavy objects that can be driven into the earth.
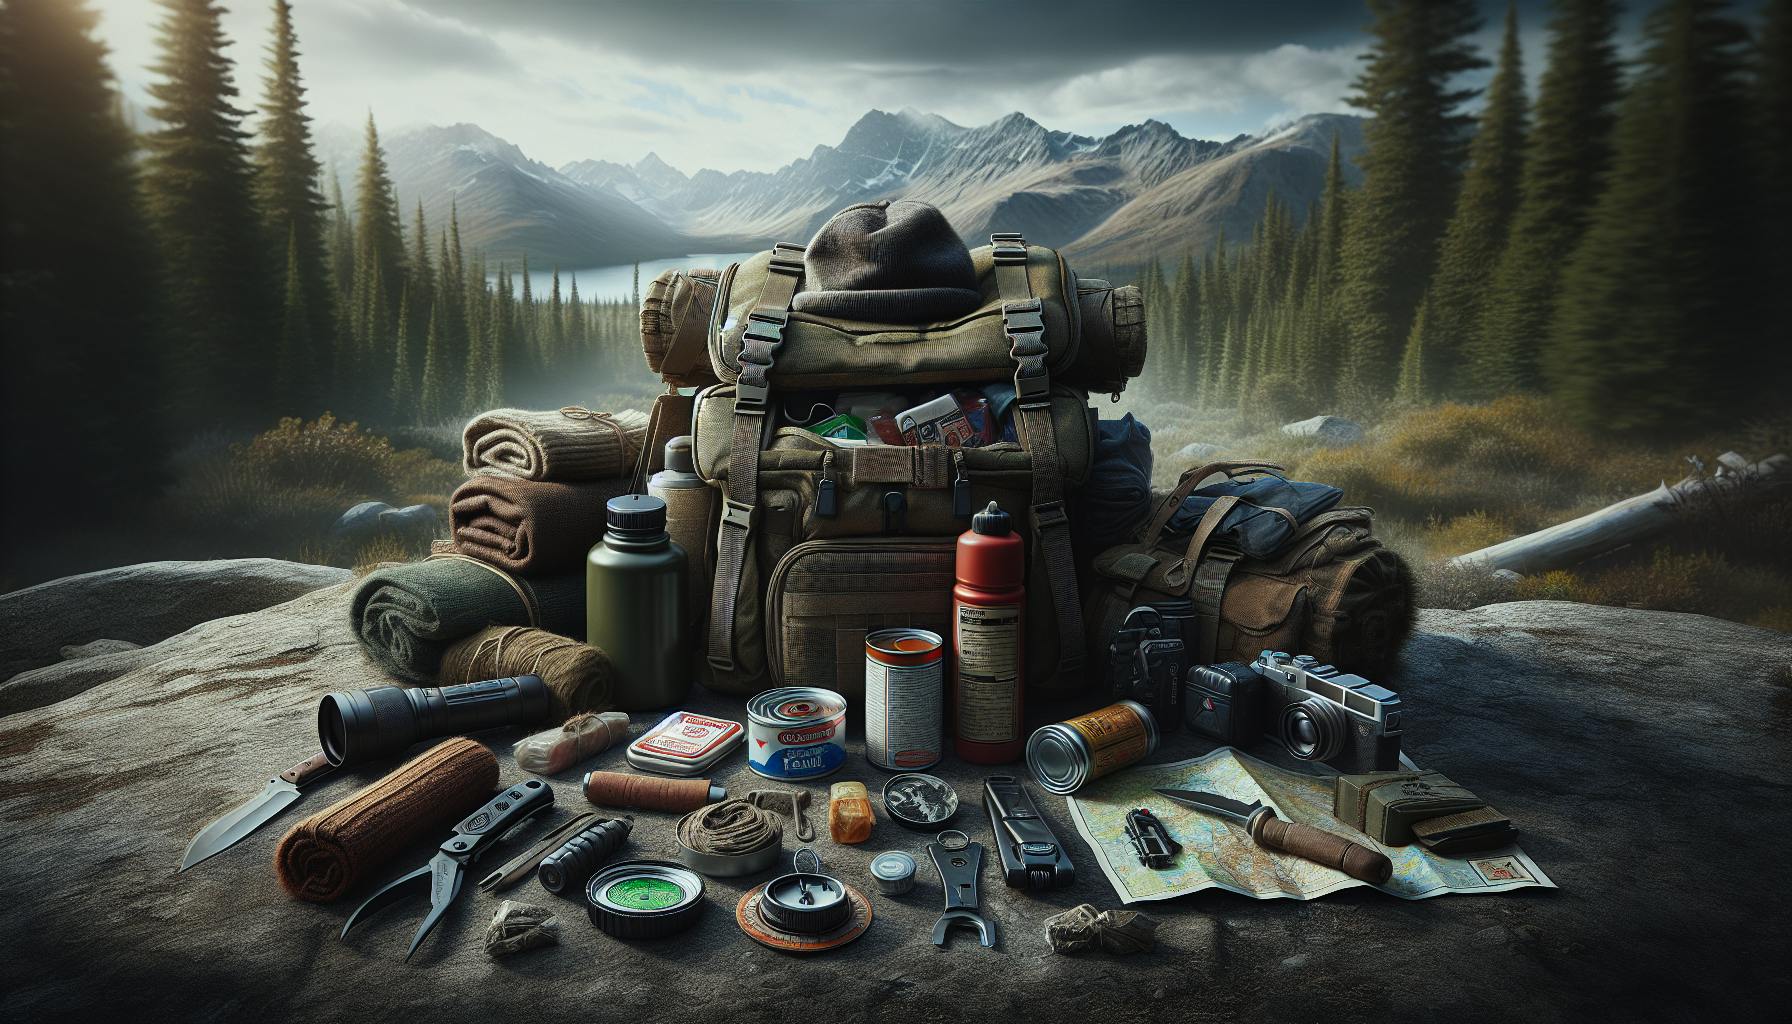
While the items above allow you to set up a basic poncho shelter, consider bringing additional gear to enhance comfort and convenience, such as a sleeping pad, blanket, headlamp, and waterproof tarp. With some minimal supplies, a survival poncho can effectively transform into vital emergency shelter.
Basic A-Frame Shelter
Site Selection and Preparation
When selecting a site to set up your basic A-frame poncho shelter, look for a flat area that is protected from the wind and other elements. Clear the area of sticks, rocks, and other debris that could damage your poncho or make sleeping uncomfortable. Avoid setting up under trees in a lightning storm.
Anchor Points and Ridgeline
To create the frame of the shelter, tie off or stake down the 4 corners of the poncho to create anchor points. These will support the structure. Next, run a rope, paracord, or stick between 2 opposite anchor points to create a ridgeline. This ridgeline will serve as the peak of the A-frame shelter. Ensure the ridgeline is secured tightly.
Forming the A-Frame
With the 4 anchor points and ridgeline set up, drape your poncho over the ridgeline to form an A-frame shape. The poncho should be centered over the ridgeline. Pull the sides down tightly and stake or tie the edges to the ground to keep the A-frame structure standing upright. Adjust the shelter as needed to create an enclosed space for protection. Your basic A-frame emergency shelter is now complete.
sbb-itb-b932644
Plow Point Shelter
The plow point shelter configuration uses the survival poncho to create a tent-like structure with a high back to protect from wind and rain. This makes an ideal emergency shelter in stormy conditions.
Shape and Pitch
The plow point shape has a high back that slopes down towards the front. This allows wind and rain to shed off the back of the shelter. Pitching the shelter at about a 45 degree angle provides enough height to sit up in while keeping a low profile from the wind.
Tie Points
There are several key points to tie off the survival poncho when setting up a plow point shelter:
-
The top corners should be pulled out and staked down to create the angled back. Use a tension knot to secure the poncho ties to the stakes.
-
About halfway down each side, tie off the side edges to create the side walls. Use available trees, branches or additional stakes to tie off too.
-
The front corners should be staked out wider to keep the front entrance open.
Staking and Securing
In addition to the corner tie off points, consider adding additional stakes or support lines along the edges and back to reinforce the structure in high winds. Digging small trenches around the perimeter can also help secure and anchor the shelter. Guying out support lines from the top corners to ground anchors improves overhead protection and stability.
With careful configuration and securing of the survival poncho, the plow point shelter is an extremely versatile and protective emergency shelter option. The high backed design sheds wind and rain while providing ample interior space.
Advanced Poncho Shelter System
Transforming a basic survival poncho into an advanced shelter system can provide critical protection in extreme weather conditions. By incorporating a few key enhancements, your poncho shelter can withstand high winds, heavy rain, and temperature extremes.
Enhancing with a Heat Reflective Poncho
Adding a heat reflective survival poncho as a liner helps regulate body temperature. The metallic coating reflects radiant heat back towards the body, while the poncho's waterproof fabric blocks conductive heat loss. To install, simply place the reflective poncho on the inside of your regular poncho shelter. Make sure to face the reflective side inwards. This enhancement helps maintain a comfortable temperature in cold weather.
Wind Resistant Configurations
High winds can easily collapse a basic poncho shelter. To improve wind resistance, secure all four corners with stakes, rocks, or sandbags. For additional stability, tie guy lines from the center of each side out to sturdy anchors. Orienting the shelter with the opening facing away from the wind also helps reduce flapping. Configuring your poncho shelter into an A-frame by propping up the ridgeline creates sloped sides that better shed heavy winds.
Waterproofing Techniques
While most ponchos are water-resistant, heavy rain can eventually leak through the seams and openings. Apply waterproofing spray on the interior and exterior to seal porous fabrics. Seal all edges with waterproof tape to prevent moisture ingress through stitching holes and hems. Digging a small trench around the shelter's perimeter diverts runoff away from the interior. Placing a tarp underneath adds an extra waterproof barrier between you and the wet ground. With these enhancements, your poncho shelter will stay dry in the heaviest downpours.
Extreme Weather Enhancements
Adding some modifications and extra equipment to your basic survival poncho shelter can help withstand more extreme weather conditions like heavy rain, wind, and cold.
Emergency Bivvy Bag Liner
Lining the inside of your poncho shelter with an emergency bivvy bag greatly increases the shelter's ability to retain heat and keep you dry. The thin, lightweight bivvy bags are made of heat-reflective polyethylene that provides excellent wind and water resistance. Simply spread out the bivvy bag inside your shelter, keeping the shiny side facing inwards. Then get inside the bivvy while also under the poncho liner. This boosts insulation and prevents dripping condensation from getting you wet. Bivvy bags pack down tiny but make a huge difference in warmth and dryness!
Guy Lines and Anchors
Adding some cordage guy lines from the main tie-out points on the poncho to secure anchors can help structurally reinforce your shelter. This keeps it taut and prevents flapping in high winds. Use available anchors like rocks, logs, roots, or stakes driven into the ground. For the best stability, rig the guy lines at a 45° angle in four directions. Having quality cordage like 550 paracord and reliable anchors is key to keeping your shelter safely in place. Consider carrying some folding aluminum tent stakes to use as anchors in areas without natural objects to tie off to.
Heat Reflection Layers
You lose a tremendous amount of body heat through conductive heat transfer into the ground. Adding a mylar emergency blanket or reflective sleeping pad underneath you helps reflect that warmth back towards your body. High quality reflective pads like those made by Survival Poncho provide excellent insulation from the cold ground while adding very little weight or bulk. For additional warmth, mylar blankets can be draped over the poncho shelter walls or fastened to the inside with simple cuts and grommets. Combining these heat reflection layers below and above you provides outstanding insulation from cold weather when used alongside a bivvy bag liner.
Conclusion
Summary of Configurations
The two main configurations for improvised shelters using a survival poncho are the A-frame and the plow point designs.
The A-frame shelter is quick and easy to set up. It provides good coverage and ventilation. However, it offers limited interior space and can be prone to collapse in high winds.
The plow point shelter takes more time and effort to construct but is more sturdy and weather-resistant. It provides more interior room at the expense of ventilation. Consider your situation and needs when deciding which design to utilize.
Importance of Practice
It is vital to build familiarity and skill in improvised shelter configurations before an emergency occurs. Practice repeatedly in fair weather to identify what works best for your specific poncho and available support materials. Learning by doing allows you to correct mistakes when stakes are lower and helps ensure you can reliably and efficiently build emergency shelters later.


